
Finding safe food while traveling or on the go is a constant challenge for individuals with celiac disease or food allergies. Often, airports, flights, road trips, and super busy days limit our ability to locate safe and healthy food. Sometimes, we can pack food ahead of time, but other times, like a delayed flight or getting stuck in traffic, we are left hungry. I have the perfect solution and I am excited to share it with you! It is delicious, nutritious, easy, portable, and non-perishable. The best part? All you need to do is add hot water!
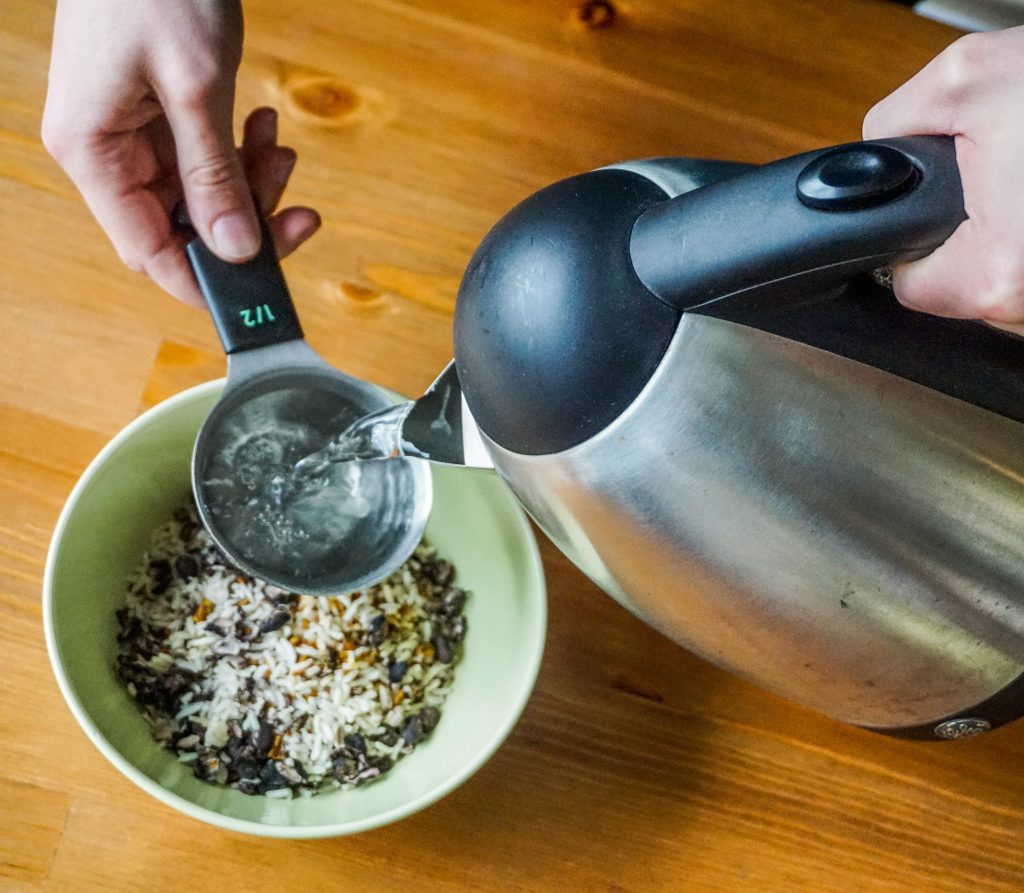
While originally a solution to celiac-friendly backpacking food, this recipe quickly became a staple in my everyday life as an emergency option for meals on the go. It is gluten-free and can be easily adapted to a vegan plant-based diet. The ingredients generally follow customs regulations for border crossings, but I recommend checking regulations beforehand.
This unique and highly portable recipe is perfect for:
- Airports and flight travel
- Road trips
- Emergency food stores
- Keeping at work or school for when you forget lunch
- Busy lifestyles
- Backpacking, bike touring, skiing, and other outdoor activities
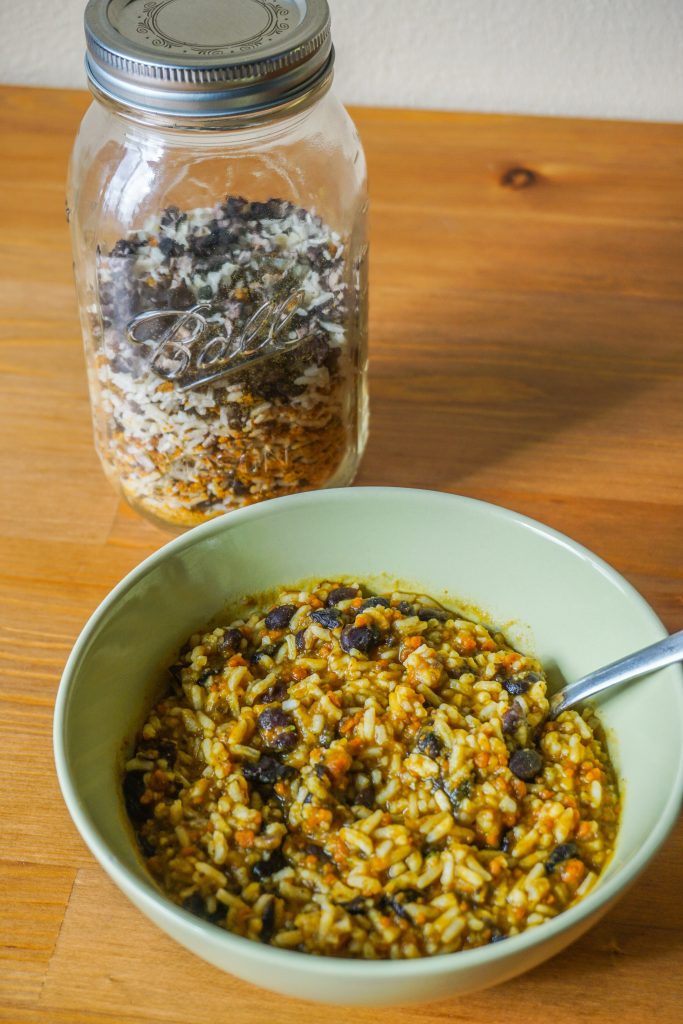
If you have other sources of pre-dried, quickly rehydrating celiac-safe beans or dried soup mix, this recipe may be super easy for you and you can skip the dehydration steps. However, if your options are limited or you are super sensitive like me, the dehydrator is a life-saver!
Once prepared, this long-lasting and non-perishable meal requires only hot water. I find it is easy to ask a flight attendant, coffee shop, or gas (petrol) station to provide hot water at no charge. In a pinch, room temperature water will work but your meal will take longer to rehydrate.
If you give this recipe a try or have information to share with the community, leave a comment to let us know how it goes! I also appreciate when you offer feedback and use #celiacsojourness on instagram to show off your creations.
Remember sharing is caring → give this recipe a share on Pinterest or other Social Media if you enjoy it!
Super Portable Black Bean and Pumpkin Stew
Servings: 6
Ingredients:
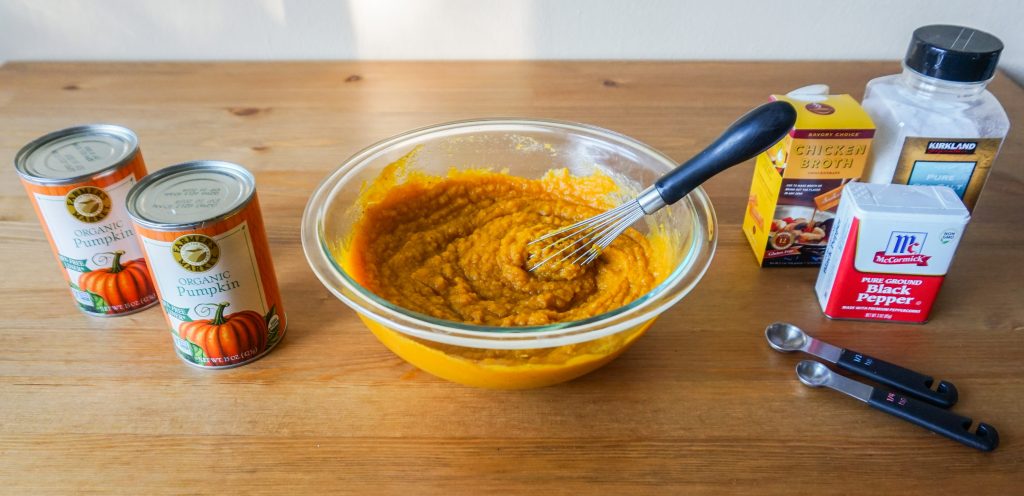
- 2 cans pumpkin (15 ounce or ~425 g cans)
- 2 cups (473 ml) vegetable or chicken broth (equivalent powdered or condensed version preferred)
- ½ teaspoon black pepper
- ½ teaspoon salt
- 2 cans beans (15 ounce or ~425 g cans)
- Green onions
- 3 cups instant rice (I use Minute Rice) (~700 ml, sorry about the wonky conversion)
- Optional: Beef jerky (or lean ground beef to make your own in the dehydrator) - this can be added in addition to or instead of beans
Instructions:
- In a large mixing bowl, add pumpkin and broth if liquid (powdered broth can be added later with the spices). Mix well.

- Drain the beans and place in a separate bowl.
- Chop the onions into 1 inch (3 cm) long rods.
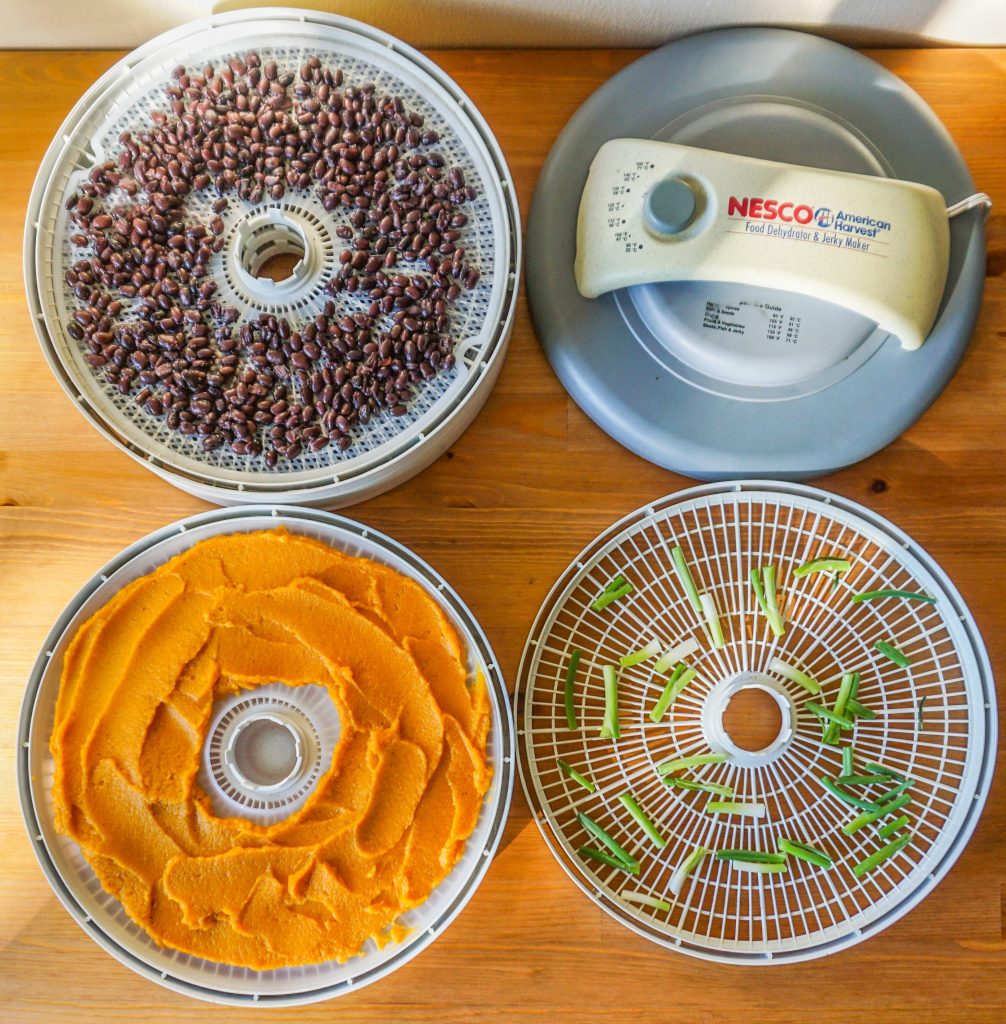
- Set up your dehydrator. I use and recommend this one from Nesco (if you want the dehydrator without the jerky maker, use this link). It has excellent removable plastic trays for drying items with various consistencies. If your dehydrator does not have plastic tray inserts, you may need to line with aluminum foil or parchment paper. You will need two trays for beans, two trays for pumpkin, and 1 tray for green onions with this model.
- Spread each item evenly over the trays. Do not mix ingredients since they will have different drying times and will be processed differently post-dehydrating.

- Set the dehydrator to 135 degrees F (57 C).
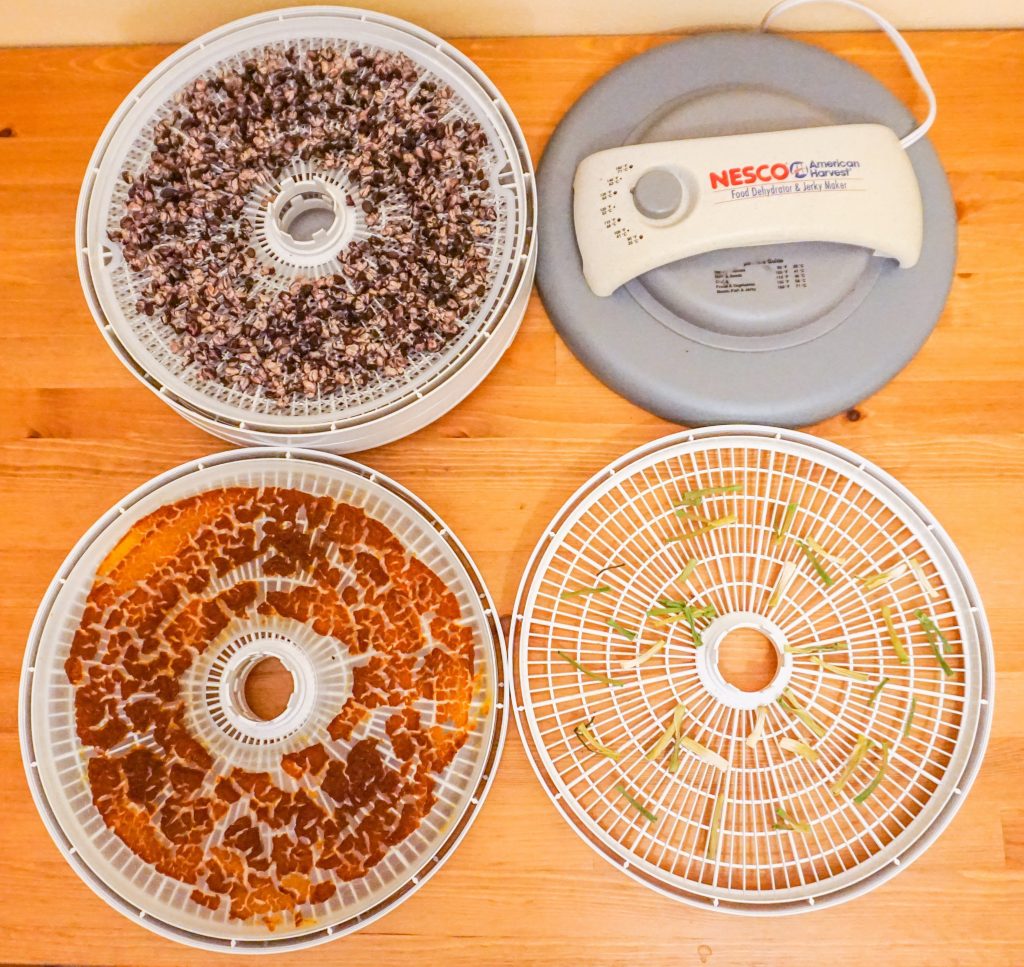
- The beans require 3-4 hours to dry, the onions 4-5 hours, and the pumpkin can take 6 hours or longer if it is spread thickly on the tray. The more space between beans and the thinner the pumpkin layer the more quickly they will dry. It is ok to leave items in the dehydrator beyond the full drying time.

- Once the ingredients are dry, remove the beans and set aside.
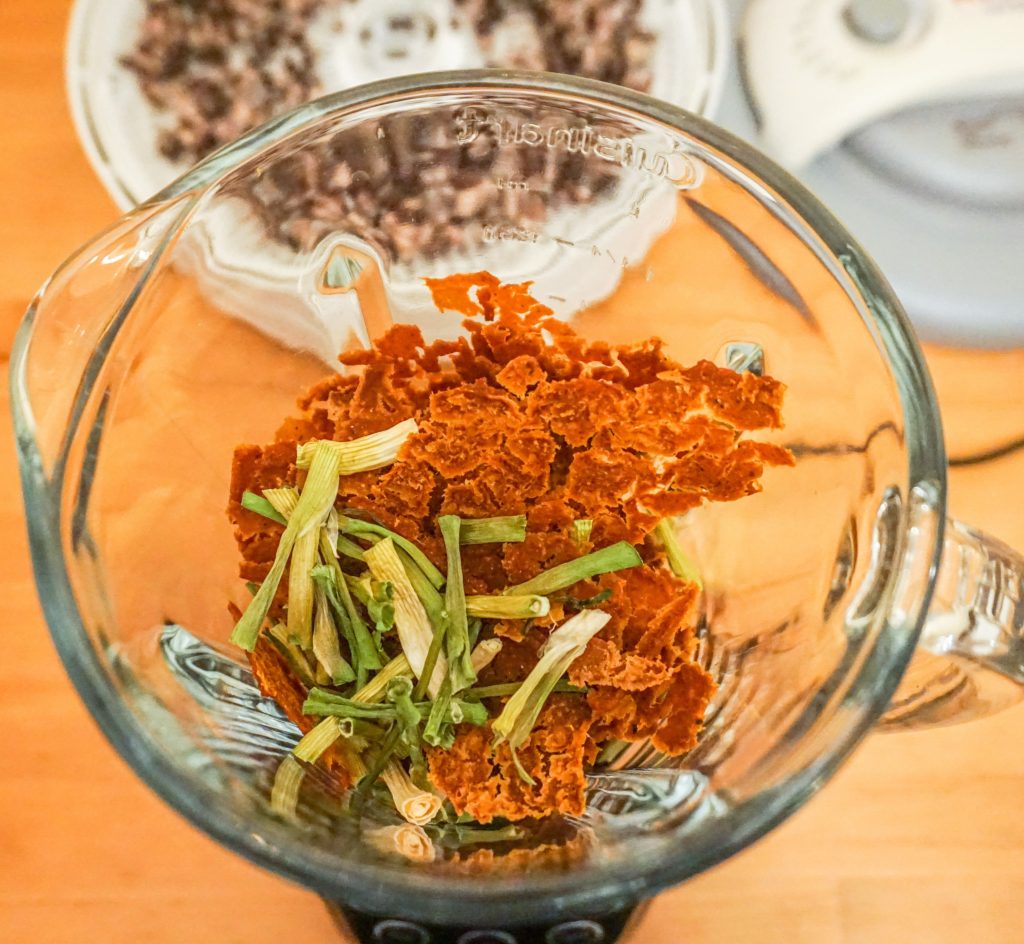
- Collect the green onions and put them in a blender or food processor. Then peel the pumpkin off the tray and add it to the blender also.

- Blend together until thoroughly mixed and as close to powdered as possible.
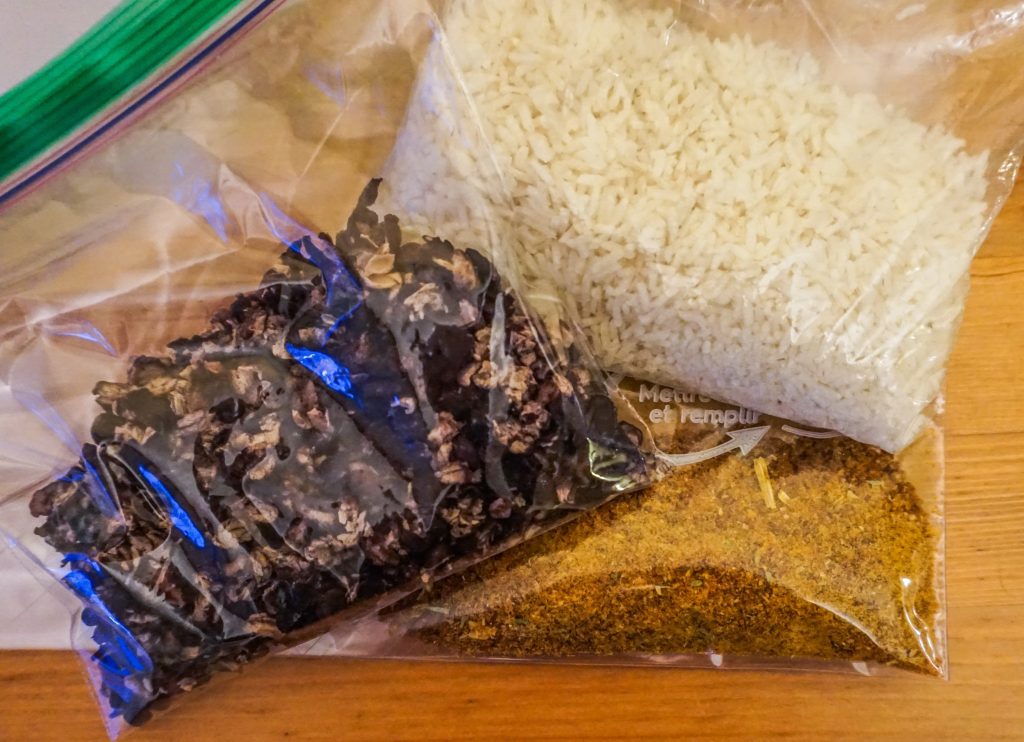
- At this point, you can choose to keep the contents separate for greater flexibility (see notes for proportions) or combine for an all-in-one ready-to-go mix! Don't forget to add the salt, pepper, and other desired spices to the broth mix if you are keeping them separate. To mix, continue to step 12.

- Empty blender contents into a mixing bowl or large plastic ziploc bag.
- Add salt, pepper, and other desired spices.
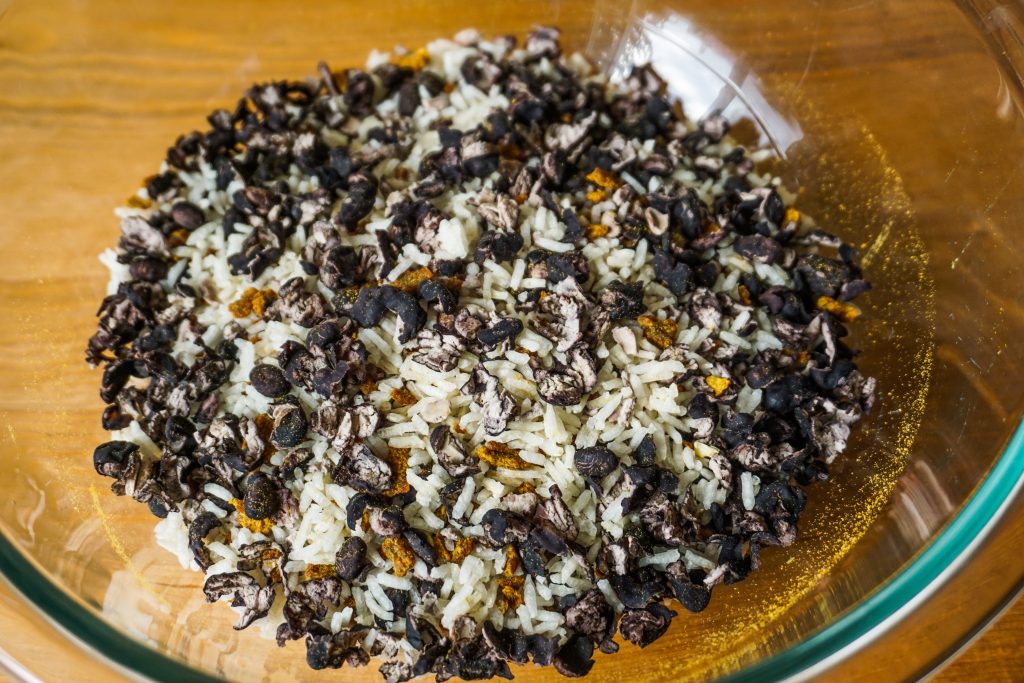
- Add dried beans.
- Add rice.
- Stir with a spoon (or shake sealed bag) until thoroughly mixed.
- To rehydrate, add 1 ¼ cups (~300 ml) water to 1 cup (236 ml) dried stew mix for 1 serving. Add additional water in small increments until desired consistency.
Notes:
If keeping your components separate, the proportions for one serving are approximately: ½ cup (120 ml) rice, ~¼ cup (60 ml) beans, and ~2 tablespoon powdered mix.
This basic recipe has a full, hearty taste. Feel free to add other spices for a boost of flavor. I find herbs de provence compliment the flavors well.
📖 Recipe
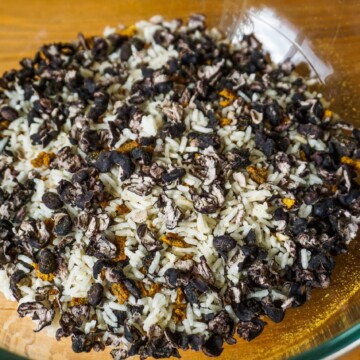
Super Portable Black Bean and Pumpkin Stew
Ingredients
- 2 15-ounce cans pumpkin
- 2 cups vegetable broth or chicken broth (equivalent powdered or condensed version preferred) (473 ml)
- ½ teaspoon black pepper
- ½ teaspoon salt
- 2 15-ounce cans beans
- 1 bunch Green onions
- 3 cups instant rice , I use Minute Rice
- 1 pound Beef jerky , optional, or lean ground beef to make your own in the dehydrator - this can be added in addition to or instead of beans
Instructions
- In a large mixing bowl, add pumpkin and broth if liquid (powdered broth can be added later with spices). Mix well.
- Drain the beans and place in a separate bowl.
- Chop the onions into 1 inch (3 cm) long rods.
- Set up your dehydrator. If your dehydrator does not have plastic tray inserts, you may need to line with aluminum foil or parchment paper. You will need two trays for beans, two trays for pumpkin, and 1 tray for green onions with this model.
- Spread each item evenly over the trays. Do not mix ingredients since they will have different drying times and will be processed differently post-dehydrating.
- Set the dehydrator to 135 degrees F (57 C).
- The beans require 3-4 hours to dry, the onions 4-5 hours, and the pumpkin can take 6 hours or longer if it is spread thickly on the tray. The more space between beans and the thinner the pumpkin layer the more quickly they will dry. It is ok to leave items in the dehydrator beyond the full drying time.
- Once the ingredients are dry, remove the beans and set aside.
- Collect the green onions and put them in a blender or food processor. Then peel the pumpkin off the tray and add it to the blender also.
- Blend together until thoroughly mixed and as close to powdered as possible.
- At this point, you can choose to keep the contents separate for greater flexibility (see notes for proportions) or combine for an all-in-one ready-to-go mix! Don't forget to add the salt, pepper, and other desired spices to the broth mix if you are keeping them separate. To mix, continue to step 12.
- Empty blender contents into a mixing bowl or large plastic ziploc bag.
- Add salt, pepper, and other desired spices.
- Add dried beans.
- Add rice.
- Stir with a spoon (or shake sealed bag) until thoroughly mixed.
- To rehydrate, add 1 ¼ cups (~300 ml) water to 1 cup (236 ml) dried stew mix for 1 serving. Add additional water in small increments until desired consistency.
Notes
Nutrition
Happy eating! ❤ Jamie
Enjoy this post? Pin it!
Thanks for sharing!

Julia says
This is a brilliant idea! I never thought of dehydrating my own meals but it's nice to know I have a 100% safe gluten free option when I'm traveling or backpacking. It's tasty too!