If you told me that Dairy-Free Tiramisu could taste better than the original, I wouldn’t have believed you -- at least not without trying it. For this recipe, I made traditional tiramisu with mascarpone cheese at the same time as the dairy free one. With a side-by-side comparison, my taste-testers and I agreed that the dairy-free version is better than the traditional! I think it's obvious that we finished the dairy free tiramisu first...

My original tiramisu recipe was this amazing Giada's Tiramisu with a Twist. Since most of my family is dairy-free and I eat mostly dairy-free, it was important that I made a version that was safe for everyone to enjoy. Tiramisu is my favorite dessert, so it was especially important to get it just right.
For more dairy-free treats, check out my amazing Dairy-Free Gelato, Dairy-Free Whipped Cream, and Dairy Free Brownies.
And for more fan-favorite dairy-free recipes, check out my Dairy-Free Zuppa Toscana, Dairy-Free French Toast, Dairy-Free Scalloped Potatoes, and Dairy-Free Mashed Potatoes.
Why you’ll love this Dairy Free Tiramisu
- It doesn't get any better than espresso soaked ladyfingers covered in a rich cream
- you only need 8 ingredients
- ready in 30 minutes
- No baking required
- You will totally wow your friends!
- No one will notice it's dairy-free 😉
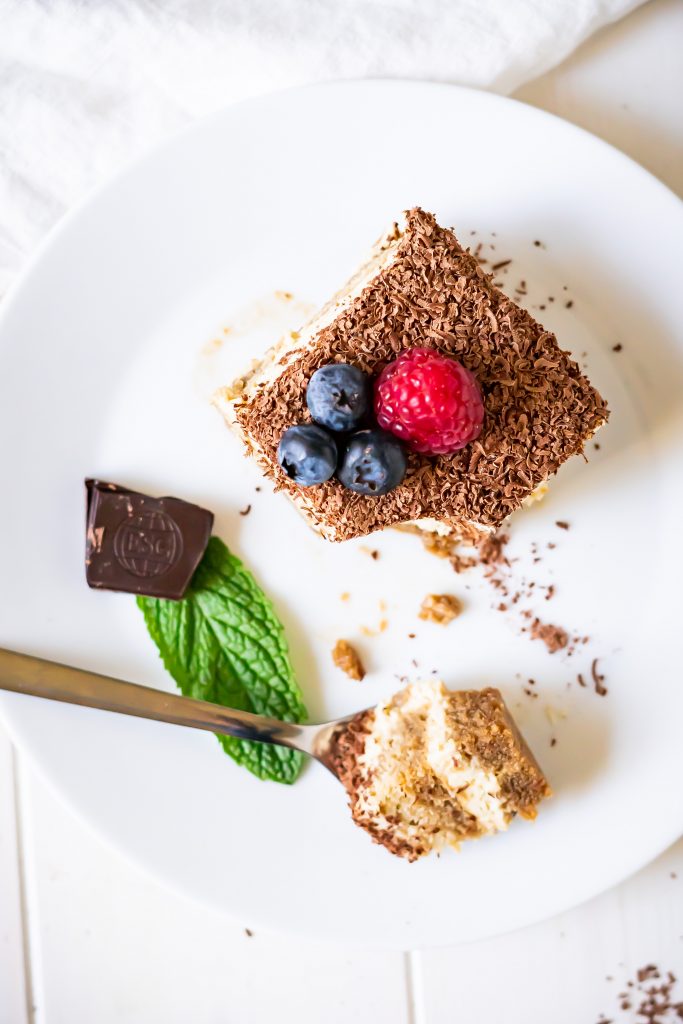
How is dairy-free tiramisu different from the traditional?
Tiramisu uses one key dairy ingredient: mascarpone cheese. Other than that, most tiramisu recipes are completely dairy free!
Some ladyfingers have dairy, so check the package to make sure. I used Schaer gluten free ladyfingers for my recipe. You can use regular or gluten-free ladyfingers for this recipe.
What do you use instead of mascarpone cheese?
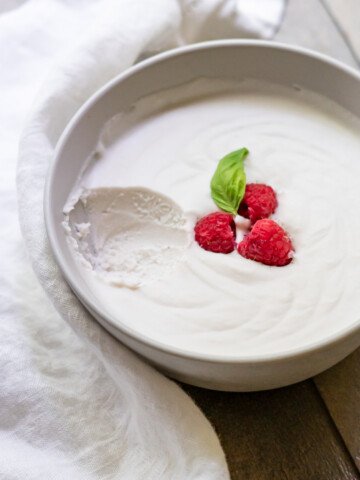
The cream layer of traditional tiramisu is made of sugar, egg yolks, and mascarpone cheese. Since this recipe is dairy-free, coconut cream is used in place of mascarpone cheese.
Does it taste like coconut?
Are you ready for it? This one really surprised me – my taste testers and I didn't notice any traces of coconut flavor! In addition to the coconut cream, there are egg yolks, sugar, vanilla extract, and a little espresso in the cream layer. These other flavors totally mask the coconut.
What can I use instead of rum in tiramisu?
Most traditional tiramisu recipes are actually made with Marsala wine. However, I enjoy using rum and it’s easy to purchase in small amounts. You can replace the rum with marsala wine, almond liqueur, or coffee liqueur. For alcohol-free tiramisu, you can omit the rum entirely.
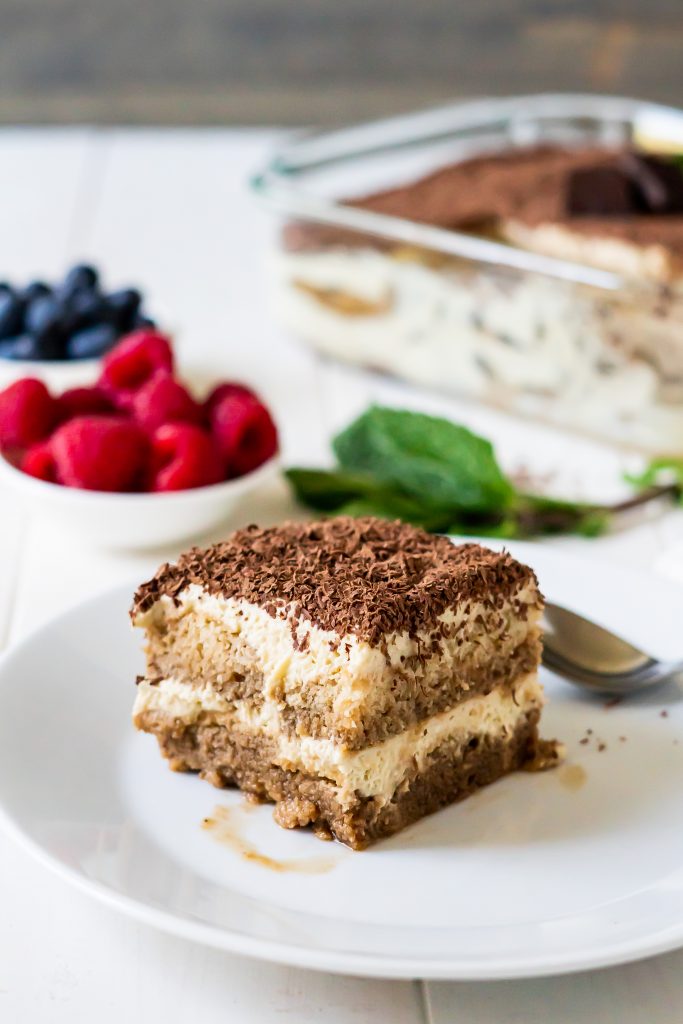
Is tiramisu hard to make?
I procrastinated making Tiramisu because I thought it was hard. Once I tried it, it was so easy! No baking required if you use pre-made ladyfingers. No baking means it's an awesome dessert recipe for van life, tiny kitchens, or hot summer days.
(I had the exact same realization when making the Easy Paella Recipe!)
How do you make Tiramisu from scratch?
Most “from scratch” tiramisu recipes use pre-made ladyfingers. If making your own, the first step is to bake the ladyfingers. Then the process is simple: 1) whip the cream ingredients together 2) dip each ladyfinger in an espresso and rum mixture, then layer across the bottom 3) add a layer of cream 4) add another layer of soaked ladyfingers 5) add the final cream layer and top with chocolate shavings.
Building a layered dessert like tiramisu could not be easier!
Let’s make Dairy Free Tiramisu
With these instructions, you'll get the perfect tiramisu on the first try! Dairy Free Tiramisu needs only 8 ingredients and a few key tools.
Ingredients
Egg yolks, sugar, coconut cream, vanilla extract, espresso, dark rum, ladyfingers (gluten-free optional), and dark chocolate.

Tiramisu Essentials
Instructions
Whip together egg yolks and sugar until thick and pale. This takes about 5 minutes and you'll want to use an electric mixer with whisk attachement.
Add the other cream ingredients and beat until smooth and creamy. You'll add coconut cream, espresso, and vanilla extract in this step.
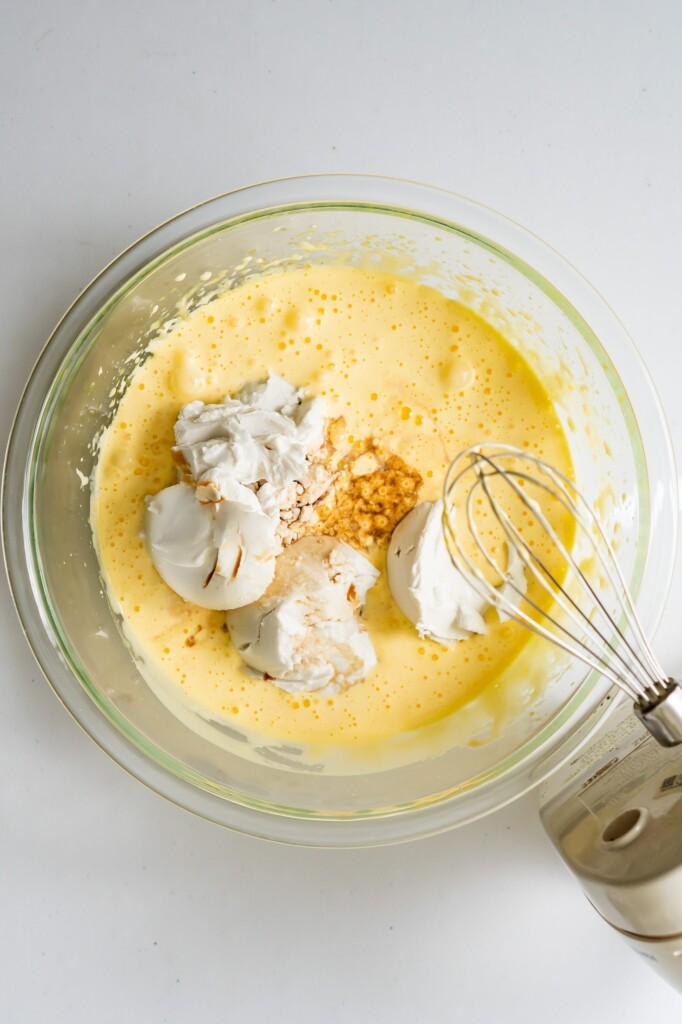

Mix rum and remaining espresso in a shallow bowl. Make sure the bowl is large enough that you can dip a whole ladyfinger into the mixture.
Dip each ladyfinger in the espresso mixture for 5 seconds. Any longer and the ladyfingers may fall apart.
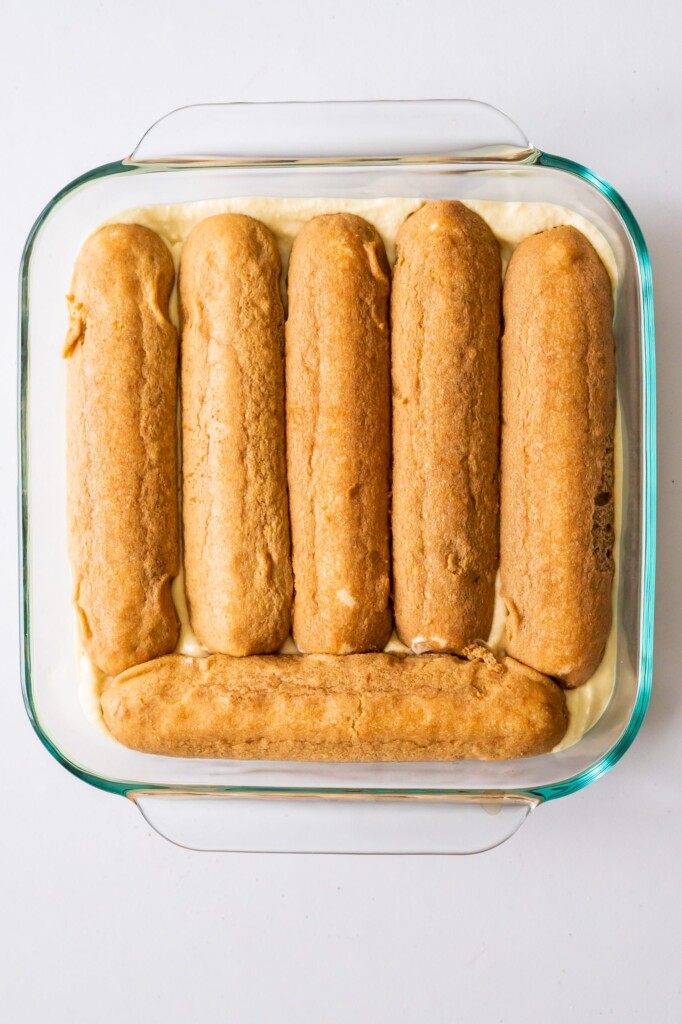
Make a layer of soaked ladyfingers across the bottom. Break the ladyfingers as needed to fit. It's ok if they fall apart a little.
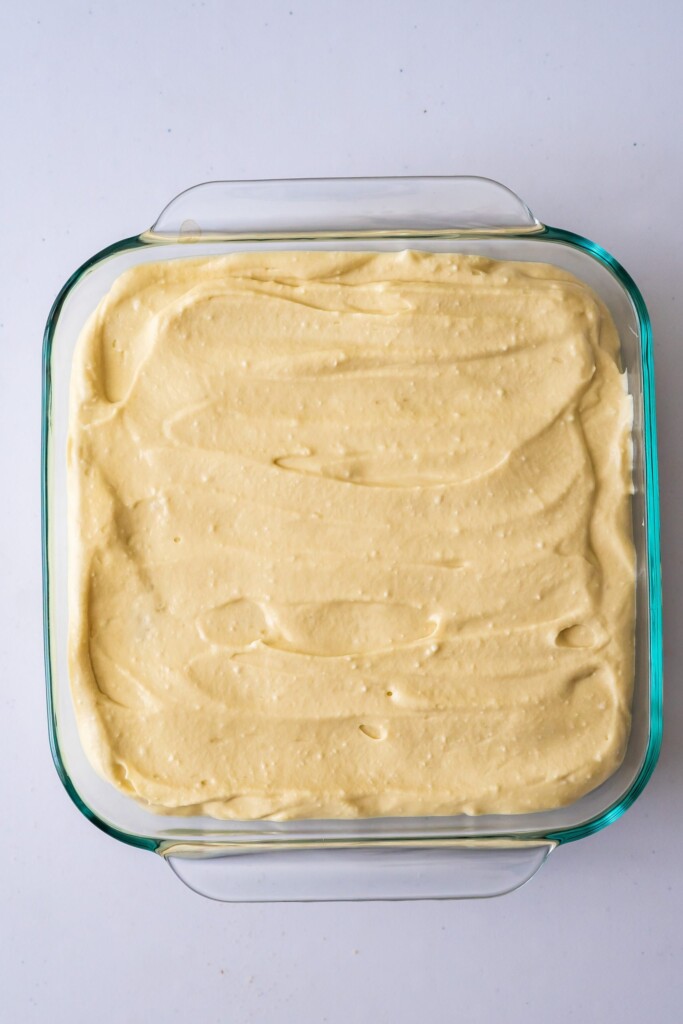
Top with the first layer of cream. Use half the mixture -- there's one more layer at the top!

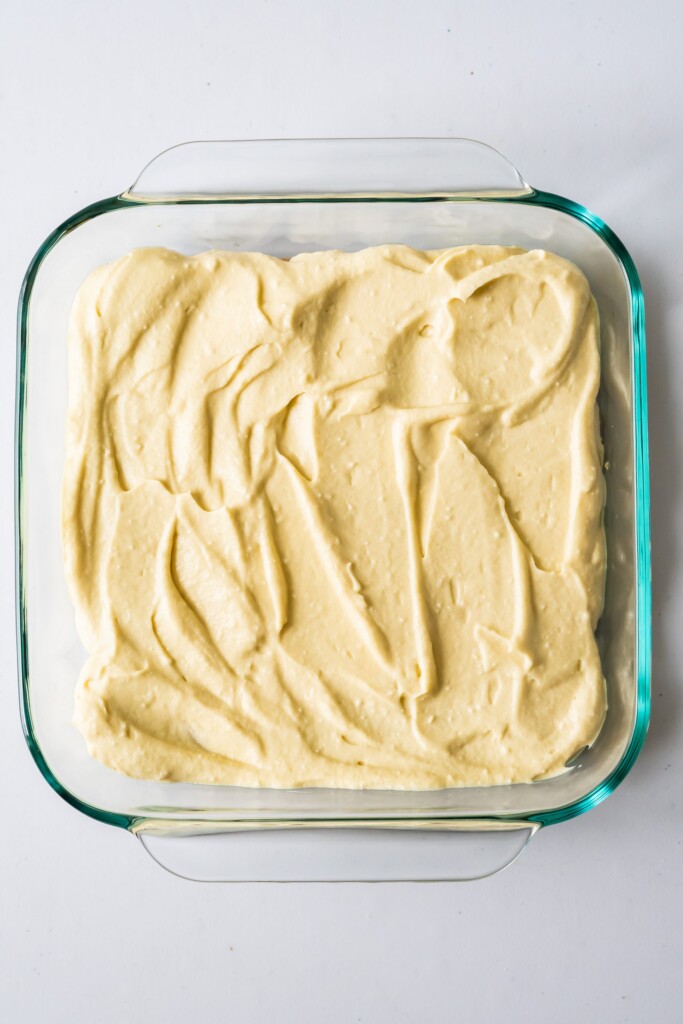
Add another layer of soaked ladyfingers.
Top with the final layer of cream.
Refrigerate the mixture for at least 2 hours. This allows the layers to set.
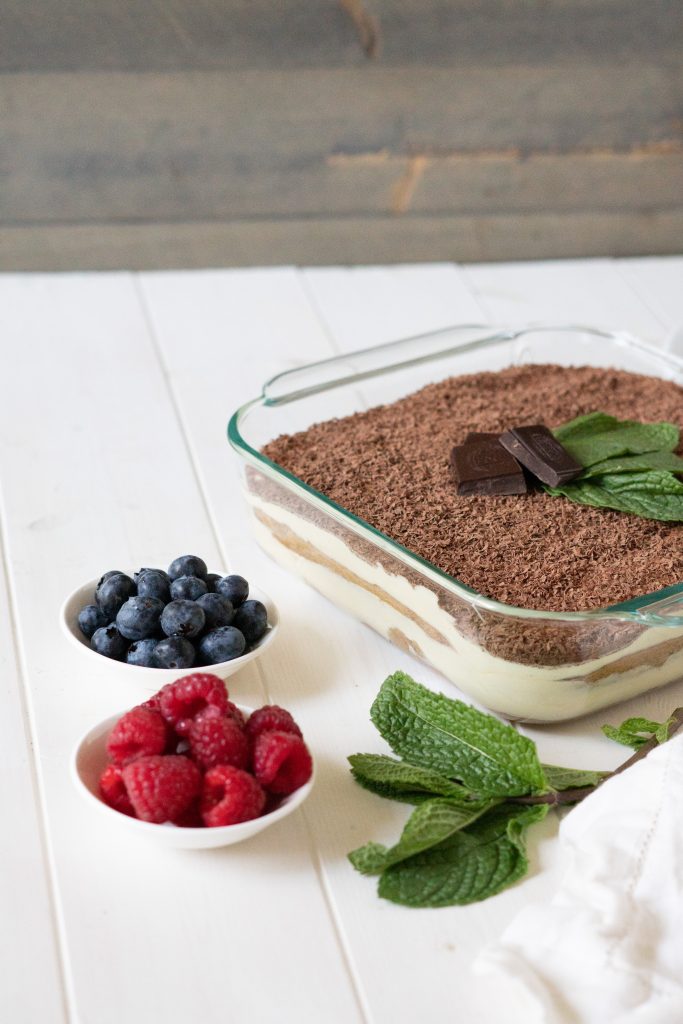
Then top with chocolate shavings and enjoy!
Other Dairy Free Desserts you’ll love:
Love this recipe? Please leave a 5-star 🌟🌟🌟🌟🌟 rating in the comment field or recipe card below. Thank you!
Dairy Free Tiramisu Recipe
PrintImpossibly Authentic Dairy Free Tiramisu
This super easy Dairy Free Tiramisu tastes just like the traditional! It can easily be made gluten-free using gluten-free ladyfingers. You'll love that it uses only 8 ingredients with no baking required.
- Prep Time: 30
- Total Time: 30 minutes
- Yield: 8-9 1x
- Category: Dessert
- Method: No bake
- Cuisine: Italian
- Diet: Vegetarian
Ingredients
- 6 egg yolks*
- ¼ cup sugar
- 1 ½ cans coconut cream, solid cream only (no liquid)**
- ½ teaspoon vanilla extract
- 2 cups strong espresso, cooled, divided
- 4 teaspoons dark rum
- 24 packaged ladyfingers (~200 grams)
- ½ cup dark chocolate shavings
Instructions
- In a large bowl using an electric mixer with whisk attachment, whip together egg yolks and sugar until thick and pale. This takes about 5 minutes. Then add coconut cream, vanilla extract, and 1 tablespoon of espresso to the mixture. Whip together until just smooth, and be careful not to over-whip.
- Pour the remaining espresso and dark rum into a shallow dish large enough to fit a ladyfinger. Dip each lady finger into the mixture for only 5 seconds, turning and flipping to coat all sides. Place the soaked lady finger on the bottom of an 8 by 8 inch baking dish. Continue until you have a single layer of soaked ladyfingers. You may need to break ladyfingers for a snug fit.
- Gently layer one half of the coconut cream mixture across the top of the soaked ladyfingers. Then add another layer of soaked ladyfingers. Top with the final layer of cream. Cover with plastic wrap or other airtight lid and refrigerate for at least 2 hours to allow the layers to set.
- Before serving, sprinkle the chocolate shavings evenly across the top of the tiramisu. This recipe tastes amazing on its own or topped with fresh berries and mint leaves.
Notes
*Consuming raw or undercooked eggs may increase your risk of foodborne illness.
**I used ~400 ml (15 ounce) cans of coconut cream and scooped out the solid cream layer. The total amount of cream was about 2 cups. Coconut cream can be over-whipped (like whipping cream), so be careful to whip the custard only until it is just smooth. It's better to have a few little lumps than over-whipped cream!
Ladyfingers can come in different sizes. If larger than the standard 3-inch sized ladyfingers (like mine), 200 grams is roughly equivalent. I used Schaer Gluten Free Ladyfingers.
Storage: Store tiramisu in an airtight container for up to 3 days in the refrigerator.
I hope you enjoy our new favorite dessert!
xo, Jamie





Kim
I think this recipe could be fantastic. My lady fingers were too wet, but everything else was spot on in flavor and texture. I will give it another try and use less time for the soaking of the lady fingers.
Cameron
Hi,
I just made this and it absolutely depends on the brand of coconut cream you use. I used good&gather (target brand) and it made a tiramisoup of a mess. I went out and got the thai kitchen brand and let it sit in the fridge for a bit then opened it and it separated properly and gave me the consistency you mentioned. Id say if you're gonna make this ONLY use the thai kitchen brand coconut cream. It tastes great though and looks EXACLTY like the regular desert. Bravissimo!
Eli
I made tiramisus before but this is my first non-dairy attempt. Came out all runny. I tried to add corn starch but didn’t work. It might be related to not taking out 100% of liquids in the coconut solids but if every drop is so critical, it should be drained using a strainer. Otherwise, there’s no hope for truly separating coconut solids 100%. Anyway, birthday cake fail and about $30 spent but I’ll make it into an ice cream cake or something.
Jamie
I'm sorry to hear it Eli. Can you share which coconut cream brand you used? There shouldn't be a need to use a strainer. However, cooling the coconut cream in the fridge ahead of time can help if you're working at a warm room temperature.
To anyone reading this -- I ordered a bunch of different coconut cream brands to try and will update the post ASAP with brands that I know will work. Thank you for your patience!
Emit
This was fantastic! Thanks for the recipe, my wife loves tiramisu but has a bad dairy allergy, this worked like a charm! Even found a great lady finger recipe that paired awesome with this. I don’t do much baking… but my wife does, she was concerned that there was no cooking the custard at all and essentially using “raw egg yolks”. Is there any concern with any kind of raw egg illnesses with this? (We’ve totally already eaten most of it though… so 🤷♂️😂)
Jamie
Hi Emit - I'm so glad you enjoyed the recipe! There is always some risk with eating raw eggs. However, raw-egg-related illnesses are rare and many recipes use raw eggs, such as mayonnaise, eggnog, some no-bake cheesecakes, and even ice cream! This USDA website is the best source I could find to provide more information.
Emit
Awesome! Thank you for the info! I’m making it again for the new year! Thanks again for the recipe!!
Susan
This is fabulous! My first attempt at tiramisu since developing a milk allergy. Totally hit the spot and so much better than using the ultra-processed dairy substitutes. Thank you!
Star
Hands down the absolute best tiramisu!!!!! Ty is is better than the dairy version (which I have made before). This recipe is so delicious!! I added cacao powder with the shaved chocolate in between layers. I left out the alcohol since we have kids.
Jamie
I'm so glad you enjoyed it Star!
Joy
I used TCC Premium Coconut Cream. It was very difficult to find any solid cream in the can. It took ages to try to scoop any solid cream.
The coconut cream would not thicken. I gave up and poured the lot down the sink.
I bought some Zymil cream to salvage dessert for my lactose intolerant guest.
Cameron
This recipe is absolutely marvelous and tastes authentically Italian! I truly thought it was too good to be true but it is not. I didn’t have any issues with runny cream as others said. Maybe they didn’t whip the egg yolks and sugar enough? I was surprised how thick they got after about 5 minutes of whipping.
Shawn
I was so excited to make this. My teen son's favorite dessert is tiramisu and has had to go dairy free since having COVID.
Unfortunately, my espresso dipped lady fingers turned out SO BITTER. Not quite sure what went astray.
Thoughts?
Jamie
Hi Shawn, I haven't had this happen before. Did you taste the espresso after this happened to see if that was the issue? What brand of ladyfingers did you use? Most have some sugar in them. How long did you dip them for?
Janna
This recipe was so good! My Italian friend didn’t even notice it was dairy free until I told him. I’d say that’s a true test of authenticity!
Jamie
I'm so glad to hear it Janna!
Elsie
Wow this was like a dream come true! I haven’t had my favorite dessert since going gluten and dairy free 6 years ago. I used the same brand of coconut cream used in the post and it turned out perfectly. Even my parents loved it! Thank you for the amazing recipe!
Jamie
I'm so glad to hear it Elsie! Thanks for sharing 🙂
Madd
The cream was too liquid. I used coconut cream without the liquid but it's out supposed to be liquid?
Jamie
It shouldn't be very liquid. It should be like a custard cream. Did you whip the egg yolks and sugar until thick and pale? If they didn't thicken while whipping (it takes a full 5 minutes when I do this) the cream will definitely be too runny. Was the coconut cream thick?
Samantha Bailey
Hi just wanting to check if this recipes needs egg whites, or if this comment means egg yolks?
Jamie
Just the egg yolks. The egg whites are not used at all. Thank you for catching my error!
Rose
Hello,
I see someone in the earlier comments had the same issue with the cream curdling. I followed the recipe and only used the cream part from the Thai coconut cream brand pictured. Did anyone figure out a solution to this? Thanks!
Jamie
While I've never had this happen when I made the recipe, I have had the coconut cream turn into a wet mess when I added too much sugar to my coconut whipped cream recipe. It was fixed by adding just a bit more coconut cream until it resolidified. Maybe this would work in the Tiramisu custard too? Hoping someone with experience with this issue chimes in!
Meg
Planning on trying this! Can’t wait! I used coconut cream before in dairy free tropical bars. It was for a “cream cheese” frosting. Jamie is right, in the other comments she mentions to not over beat once coconut cream is added.
I noticed in my other recipe that there was a time while beating that it was creamy and then a minute later it curdled.
So like she said, just beat until creamy/blended