
This easy gluten-free pie crust is flaky, buttery, and simple to make. If you've struggled to make a flaky gluten-free pie crust before, this method fixes the most common problems.
It's perfect for sweet or savory pies, hand pies, and decorative crust cutouts - and no one will guess it's gluten-free.
This beginner-friendly guide explains how gluten-free pie crust works and shares simple tips for making flaky gluten-free pie dough every time.
Jump to:
Why gluten-free pie crust is different
While it tastes very similar to regular pie crust, a gluten-free pie dough behaves a little differently and requires slightly different handling. It is less stretchy and needs to be a little thicker than a regular pie crust. The texture of the dough is also a little more crumbly than a traditional pie crust.
Because of these differences, it is not a good idea to simply replace the flour in your old pie crust recipe with gluten-free flour. Gluten-Free Flour absorbs and holds water differently. In my tips section below, you'll find everything you need to know to get gluten-free pie crusts just right on the first try.
I recommend reading through this post in its entirety to get the best gluten-free pie crust.

When to use gluten-free pie crust
While pies are a year-round staple, I find myself making this easy gluten-free pie crust mostly for the Fall and Winter holidays, as well as the end-of-summer fruit pies. It's easy to make-ahead and I always make more than one crust. It refrigerates, freezes, and thaws well.
In preparation for Thanksgiving, I like to make pie crusts during the first week of November. This helps to minimize the prep needed during Thanksgiving week. It also prevents me from buying pre-made gluten-free pie crusts when I feel pressed for time.
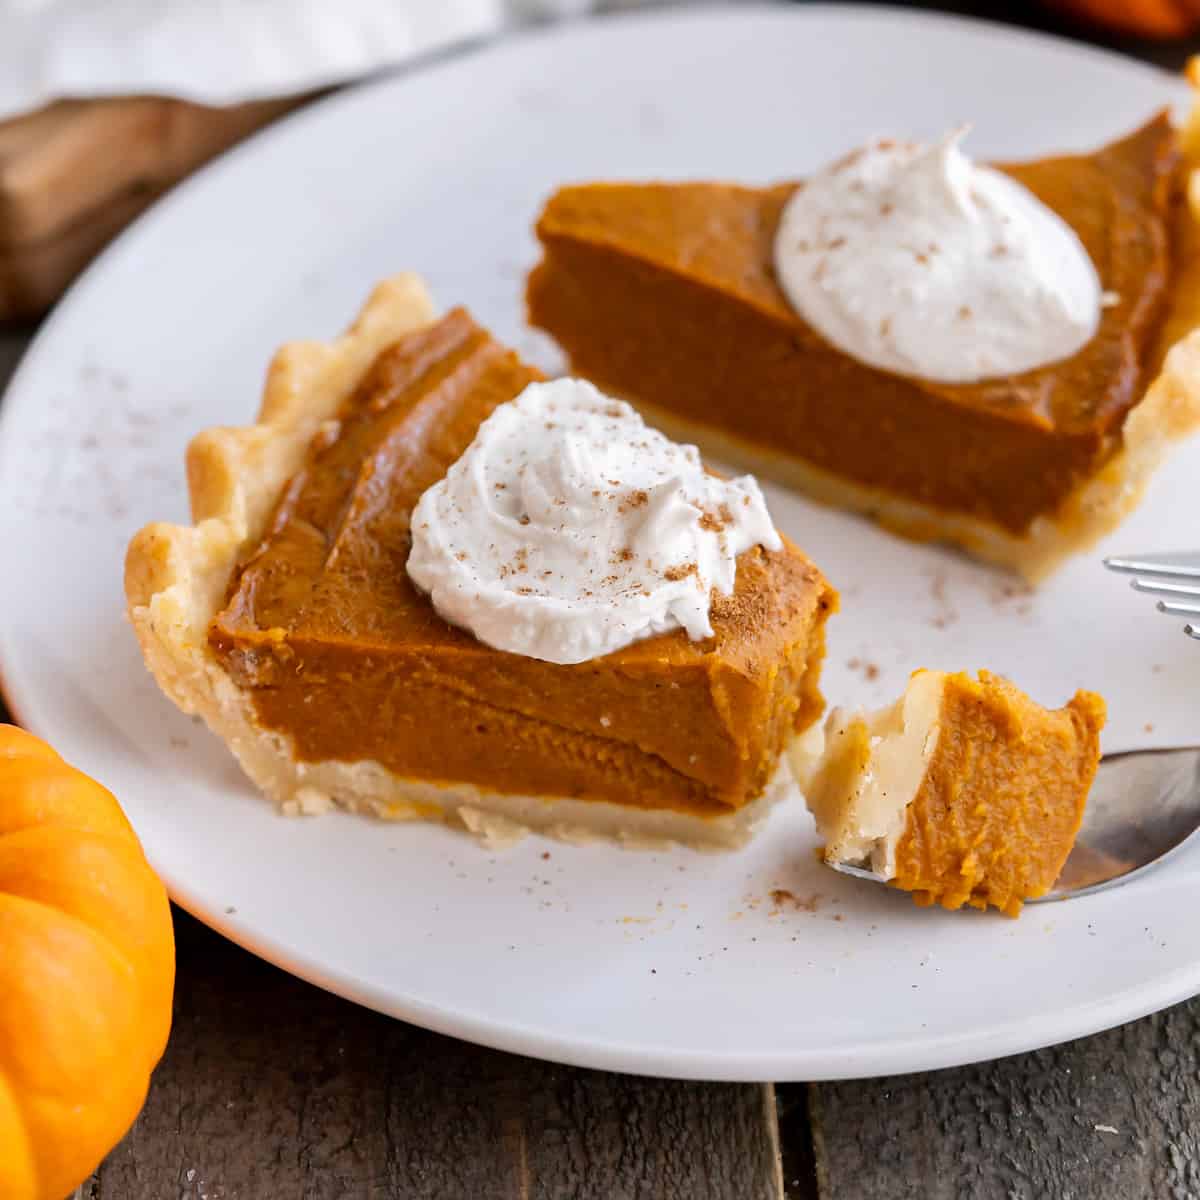
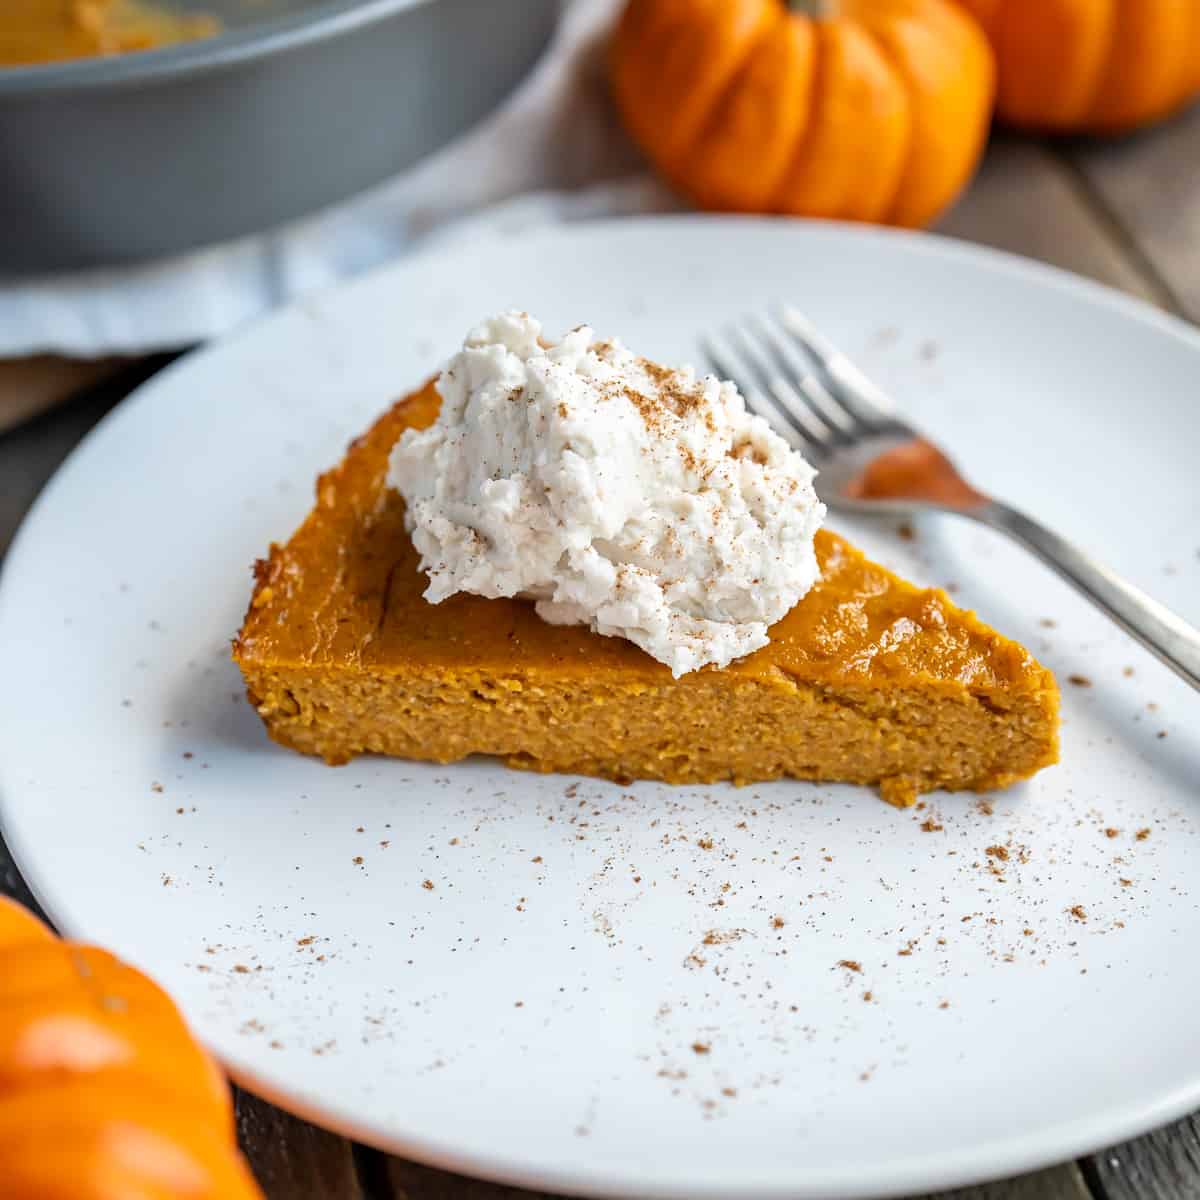
I use this gluten-free pie crust recipe to make our family-favorite Gluten-Free Vegan Pumpkin Pie.
More pies to make with this pie crust
Once you have a reliable recipe, it becomes the base for many classic desserts. This crust works especially well with fruit pies and classic holiday desserts. Try it with one of these:
- Gluten-Free Apple Pie - a classic cinnamon apple filling
- Strawberry Crumble Pie - sweet summer strawberries with a buttery crumb topping
You can also use it for hand pies, galettes, and pie crust cutouts.
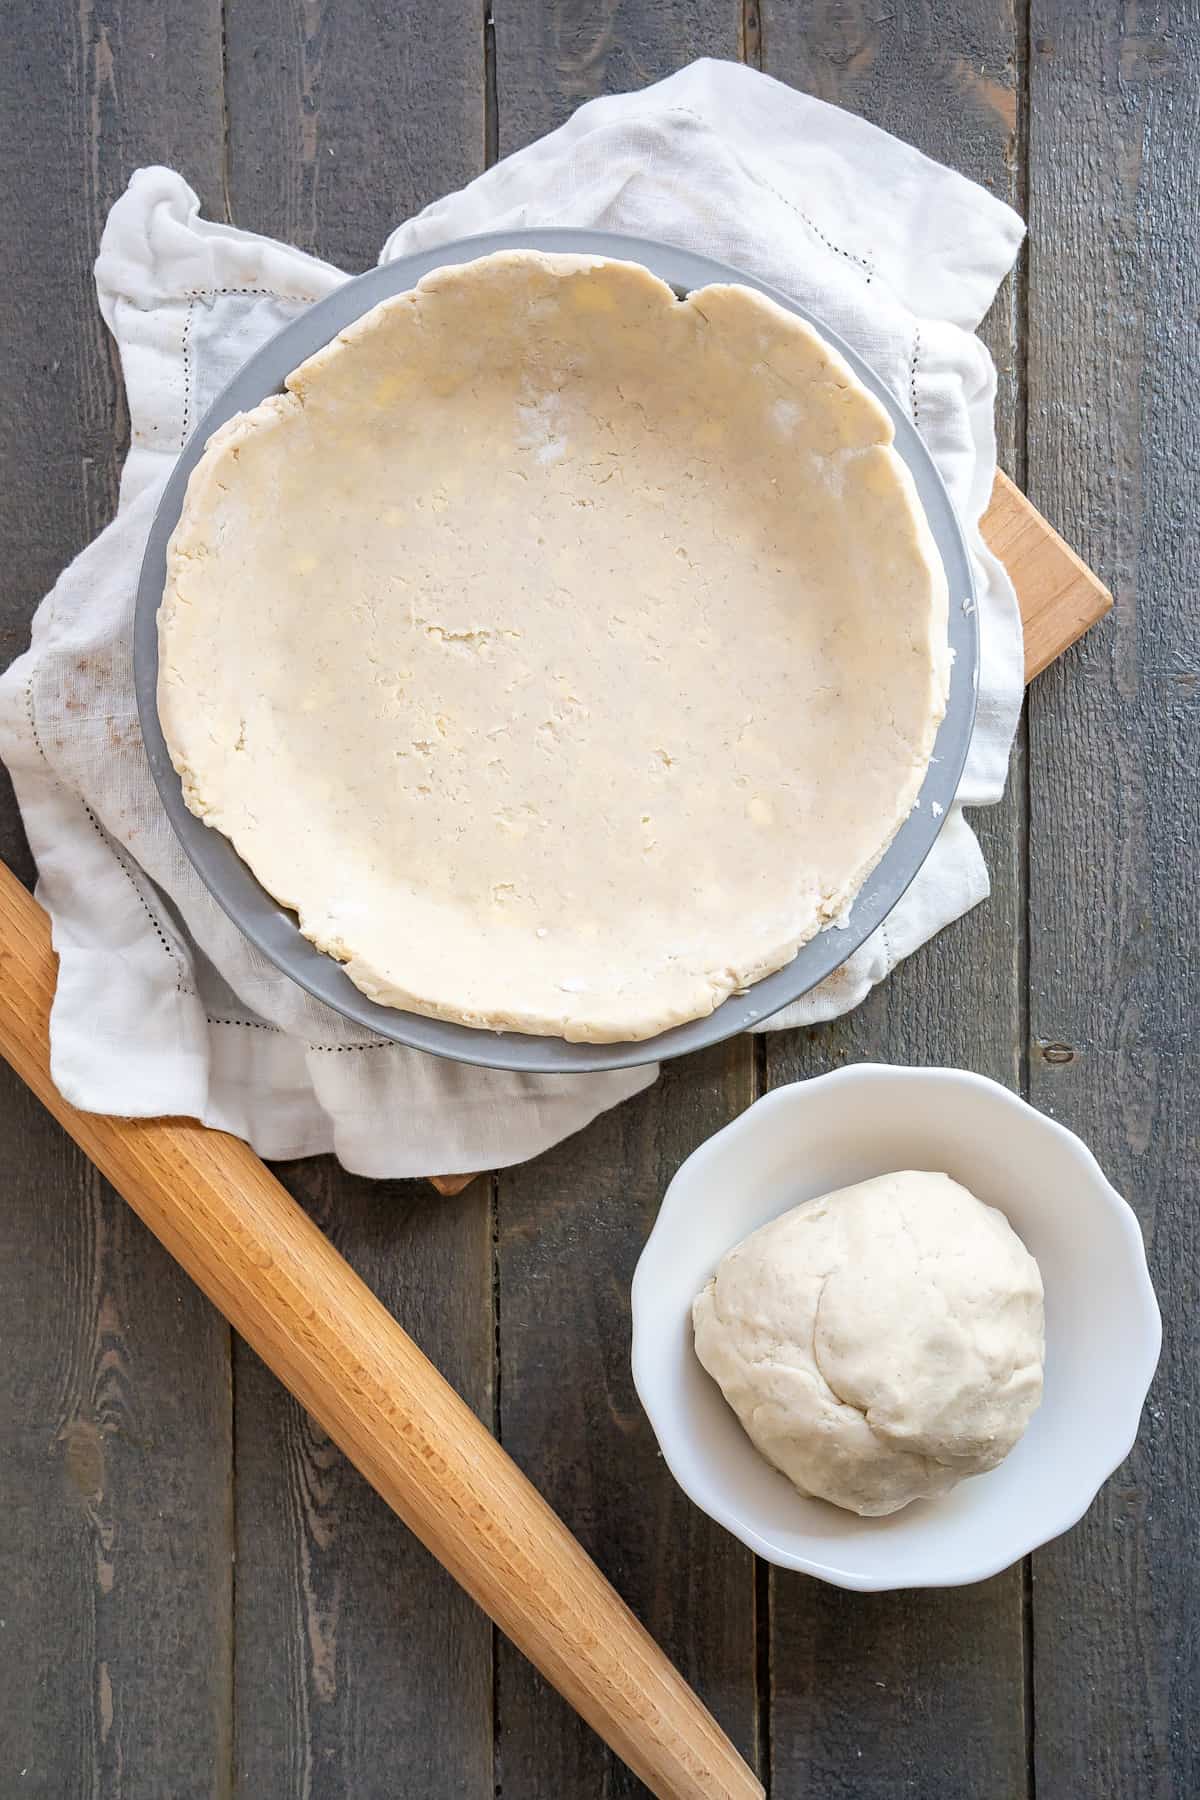
How to make it (with photos)
This recipe makes enough gluten-free pie dough for a double-crust pie (two 8-9 inch crusts). For single-crust pies, I recommend making the recipe as listed and freezing the second crust for later.
Ingredient Notes + Substitutions
This easy Gluten-Free Pie Crust only requires 4 ingredients plus water, just like a regular pie crust. The differences are found in the amount of each ingredient, and how the dough is handled.

Gluten-Free Flour
I used Bob's Red Mill 1-to-1 gluten-free Flour to make this recipe and I am very happy with the results. It is a rice flour blend that browns well. Other all purpose gluten-free flour blends made with rice flour will work well also. Rice flour blends taste the most like traditional wheat flour.
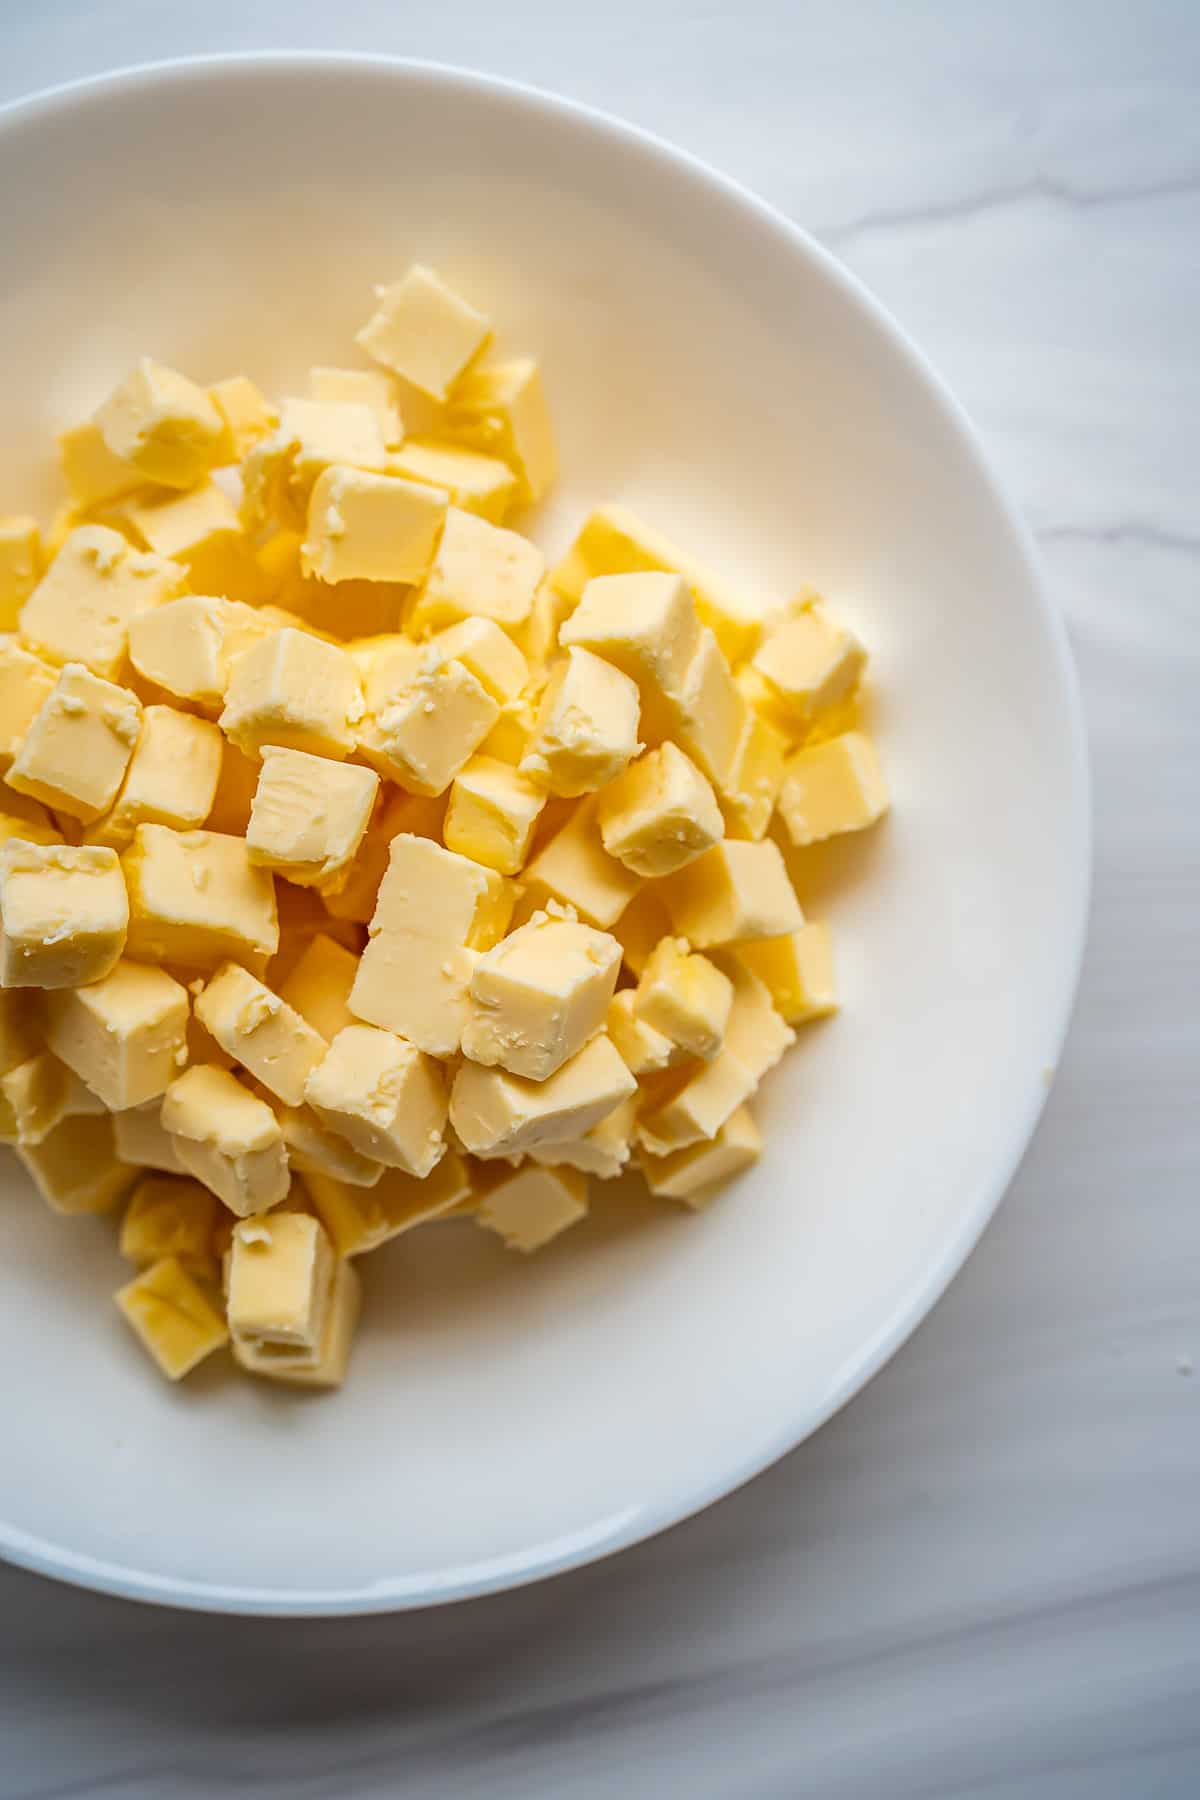
Butter
Unsalted regular butter and dairy-free or vegan buttery sticks both work perfectly in this recipe.
In preparation for this recipe, cut the butter into cubes about ½ inch wide. You want the butter to be very cold. I like to cube the butter first, then place it in a bowl in the freezer while I prepare the other ingredients. This keeps it very cold and encourages a super flaky crust. If using salted butter instead of unsalted, decrease the salt amount by ¼ teaspoon.
Ice water
The ice should be mostly melted by the time it's added to the recipe. Immediately after cubing the butter (see butter notes above), I add ⅓ cup of cold water to a liquid measuring cup and add crushed ice until the total amount is ½ cup. The ice is usually mostly melted by the time I need it.
See the recipe card for a full list of ingredients with quantities.
Step-by-Step Instructions
This easy gluten-free pie crust is a beginner-friendly recipe. I broke the process down into simple steps. The recipe is written for an easy food processor method but includes instructions for the traditional pastry cutter method as well..
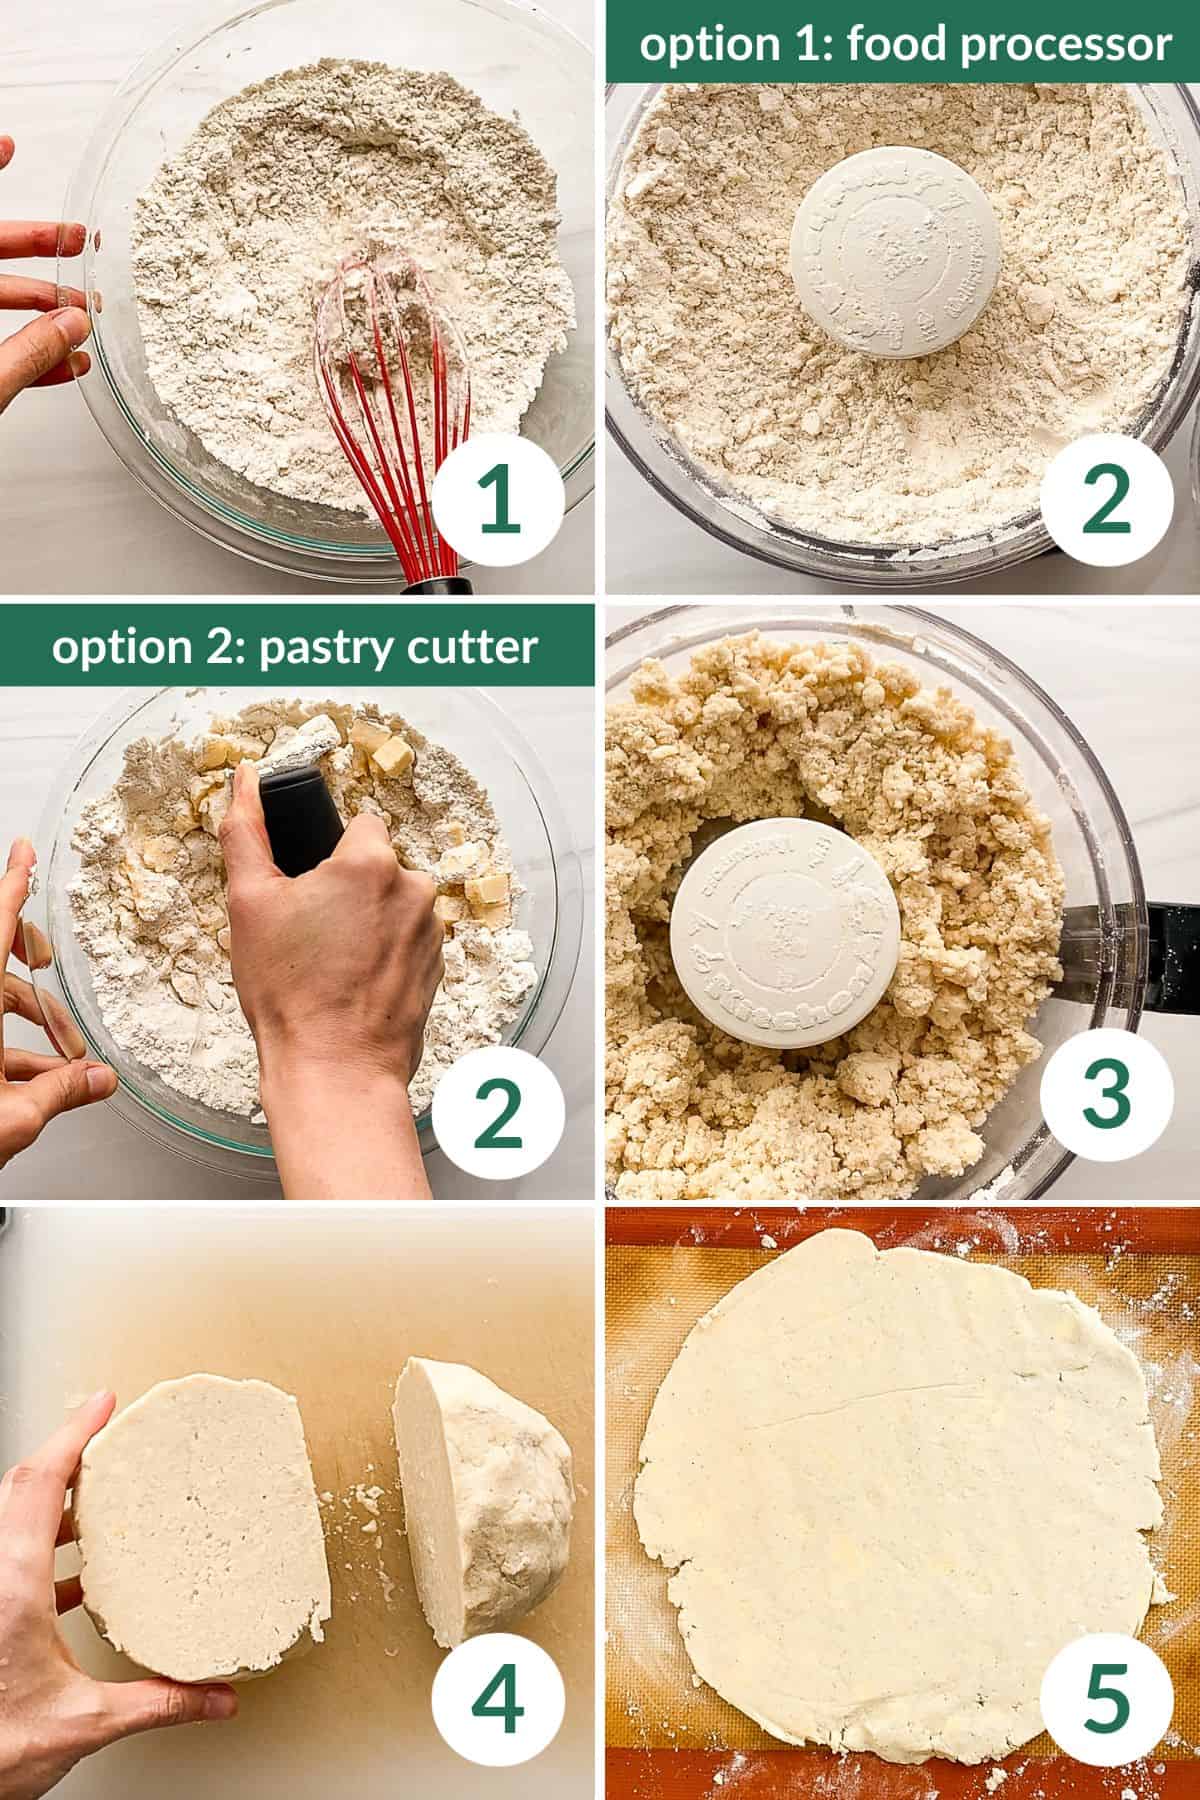
- Mix the dry ingredients: Add the gluten-free flour, sugar and salt to a food processor and pulse until lightly mixed.
- Cut in the butter: Add the cold cubed butter and pulse until the mixture resembles course crumbs with pea-sized butter pieces.
- Add water: Add half the ice water and pulse a few times to lightly mix. Then add the remaining ice water and pulse just until a crumbly dough forms.½ cup ice water
- Form the dough: Transfer the dough to a bowl. Lightly mix and consolidate the dough with your hands, then form it into a ball. Divide it into two equal portions.Do this step quickly and don't overdo it (too much handling can decrease flakiness). It is ok if bits of dry flour remain, but there should be no large pockets of flour.
- Roll the crust: Lay a large silicone liner or piece of parchment paper on your surface. Dust with GF flour, then place one of the dough balls on top and dust lightly with GF flour again. Use a rolling pin to roll the dough into a thin circle ½ inch wider than your pie plate on all sides.
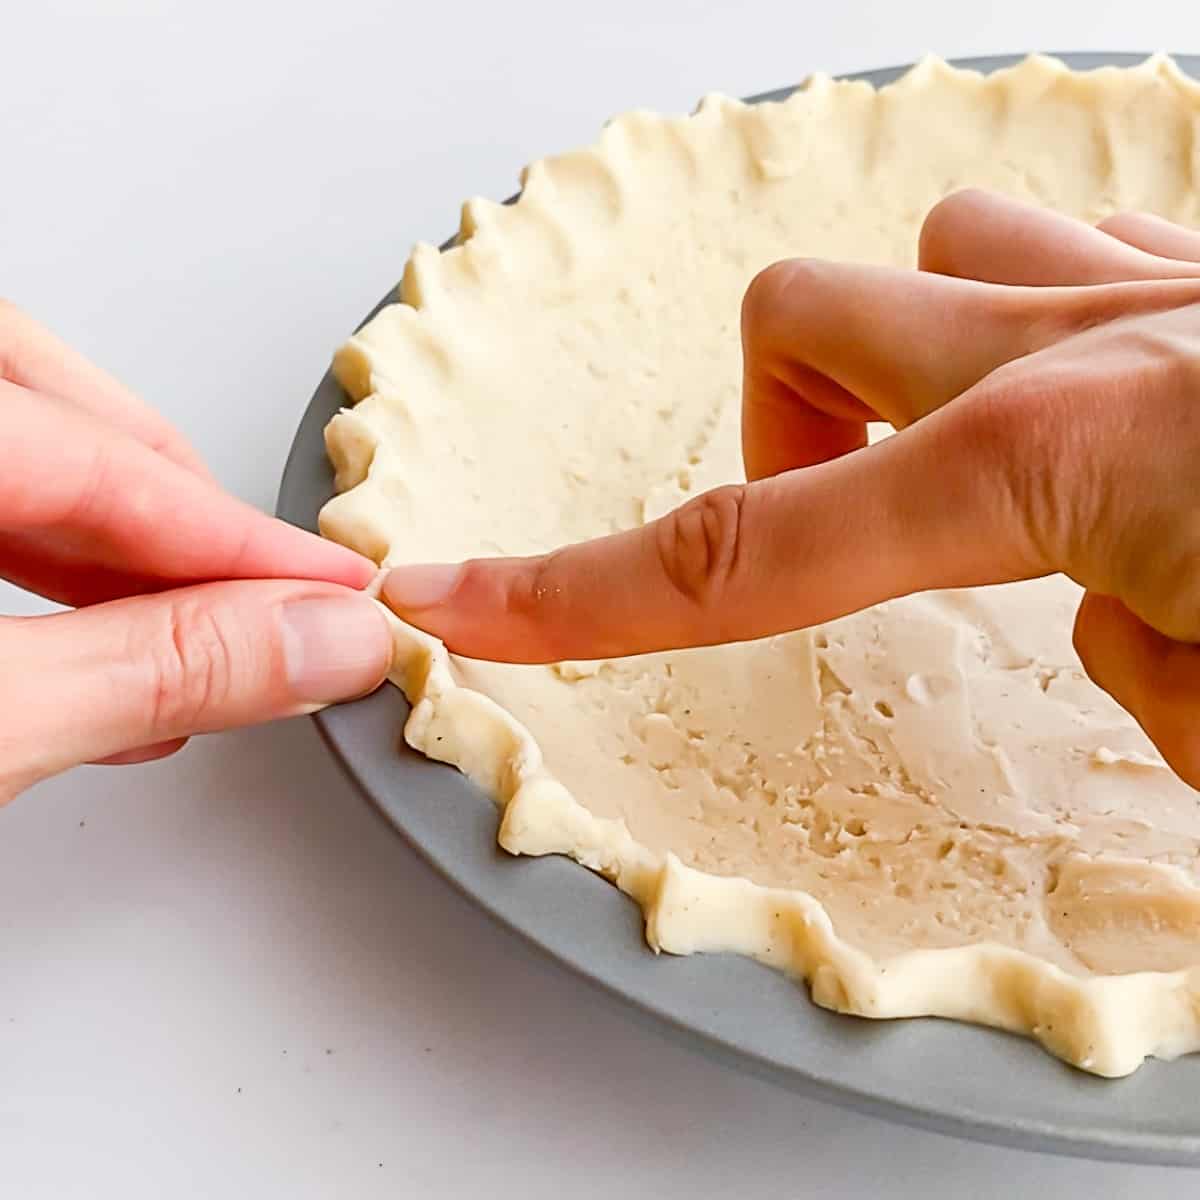
- Pie Plate: Gently lay your pie plate upside down and centered over the rolled dough. Flip the dough into the pie plate by placing your hand under the parchment paper and turning the dough and plate over at the same time. Gently remove the parchment paper and use your fingers to nestle the pie crust into the pie plate. Trim excess dough and crimp the edge if desired. Proceed with your pie recipe.
Hints: You don't need to grease a pie plate. Pie crusts are so buttery they don't tend to stick. When baking, place your pie plate on top of a baking sheet. That way any butter or juices from the filling that bubbles out won't dirty your oven.
Love this recipe? Please leave a 5-star 🌟🌟🌟🌟🌟 rating in the comments below. Thank you!
📖 Recipe
Easy Gluten-Free Pie Crust
Equipment
- 2 pieces of parchment paper or silicone liners
Ingredients
- 2 ½ cups all purpose gluten-free flour with xanthan gum (337 grams)
- 1 tablespoon granulated sugar
- 1 teaspoon salt use ¾ teaspoon if using salted butter
- 18 tablespoons unsalted butter or vegan butter , cubed (2 sticks plus 2 tablespoons, 9 ounces, or 255 grams)
- ½ cup ice water
Instructions
- Mix the dry ingredients: Add the gluten-free flour, sugar and salt to a food processor and pulse until lightly mixed.2 ½ cups all purpose gluten-free flour, 1 tablespoon granulated sugar, 1 teaspoon salt
- Cut in the butter: Add the cold cubed butter and pulse until the mixture resembles course crumbs with pea-sized butter pieces.18 tablespoons unsalted butter or vegan butter
- Add water: Add half the ice water and pulse a few times to lightly mix. Then add the remaining ice water and pulse just until a crumbly dough forms.½ cup ice water
- Form the dough: Transfer the dough to a bowl. Lightly mix and consolidate the dough with your hands, then form it into a ball. Divide it into two equal portions. Do this step quickly and don't overdo it (too much handling can decrease flakiness). It is ok if bits of dry flour remain, but there should be no large pockets of flour.
- Roll the crust: Lay a large silicone liner or piece of parchment paper on your surface. Dust with GF flour, then place one of the dough balls on top and dust lightly with GF flour again. Use a rolling pin to roll the dough into a thin circle ½ inch wider than your pie plate on all sides.
- Pie Plate: Gently lay your pie plate upside down and centered over the rolled dough. Flip the dough into the pie plate by placing your hand under the parchment paper and turning the dough and plate over at the same time. Gently remove the parchment paper and use your fingers to nestle the pie crust into the pie plate. Trim excess dough and crimp the edge if desired. Proceed with your pie recipe.
Video
Notes
- You don't need to grease the pie plate. Pie dough contains enough butter to prevent sticking.
- When baking, place your pie plate on a baking sheet to catch any butter filling that bubbles over.
Nutrition
Equipment
I recommend using either a food processor or a pastry cutter for this easy gluten-free pie crust recipe. Both of these methods keep your hands out of the dough so the butter stays cold, which keeps the crust flaky.
If you don't have a food processor or pastry cutter, you can use your hands. Make sure the butter is very cold. I recommend cubing it and then placing it in the freezer for 20 minutes before using. Then when it's time to mix in the butter, squish your hands through the dry ingredients and cubed butter until there are pea-sized lumps of butter remaining (same as the other methods). For more information on this method, check out my Gluten-Free Blueberry Scones recipe. I find using my hands to be very therapeutic.
You also need:
- mixing bowl
- rolling pin
- parchment paper or large silicone baking sheets
- 8 or 9 inch pie plate

Storage + Freezing
This easy gluten-free pie crust recipe is great for same-day use or to make ahead of time.
Here's how to store it propertly:
- Store uncooked dough in an airtight container in the refrigerator for up to 5 days.
- Freeze for up to 3 months and allow to thaw in the refrigerator overnight before using.
Tips + Troubleshooting
While this easy gluten-free pie crust is just as good as a traditional pie crust, the dough does behave a little differently. Use these tips to get the best gluten-free pie crust whether you're new to pie making or an expert trying it gluten-free!
Tip 1. Keep the butter cold and the ice water colder for a flaky crust.
Prepare the butter at the very start of the recipe. Cube it for use later, than place it in a bowl and put it in the freezer while you prepare the other ingredients.
Immediately after preparing the butter, add ⅓ cup of water to a liquid measuring cup and add crushed ice until the total amount is ½ cup. Then stir and allow to sit at room temperature so the ice can melt and superchill the water.
Tip 2. The dough may seem crumbly, and that's ok.
To get a nice flaky pie crust, I found that the dough needed to be drier than what I was used to pre-gluten-free. After mixing the ingredients together, your hands are needed to press the dough together. However, if you add more water (like you would with regular pie crust), the dough gets very sticky very quickly and is impossible to work with.
Tip 3. Keep your hands off the dough until after refrigeration.
The less you handle the dough with your hands, the better. That's why we sandwich the dough between a floured silpat mat and/or parchment paper. After refrigeration, use your fingers only as needed to nestle the crust in the pie shell and add a decorative edge.

Tip 4. Don't stretch the dough.
It simply will not stretch. Gently nestle it into the pie shell by pushing with your fingers. Be very careful when lifting pieces for braiding or creating a lattice top. To seal a top and bottom crust, overlap the pieces slightly and very gently push or pinch the pieces together.
Tip 5. Repair cracked edges with dough "patches".
If the edges begin to crack when rolling or filling in the pie plate, use extra pieces of dough to patch the holes. Roll out the pieces and then gently press them into the cracks or holes with your fingers. Only use a little ice water if the dough is very very dry.
Tip 6. Go for a thick pie crust.
This dough does not stretch and requires gentle handling. This is much easier when the crust is thick. Only roll the dough out as much as you need to fit your pie plate.
Recipe FAQs
Hopefully I've covered some of your burning questions about making this easy gluten-free pie crust! If not, leave a question in the comments and I'll get back to you within two business days.
Leave the pie crust at room temperature for no more than 5-10 minutes before rolling. Otherwise, you risk losing its flakiness.
The holes in the bottom crust prevent bubbles from forming and bursting when the steam rises.
Unchilled pie dough is less flaky and more dense. It is also more likely to break apart and is therefore more difficult to work with.
To grate the butter, first make sure it is very cold. Then use a cheese grater and mix into the dry ingredients. This recipe works great with cubed or grated butter.
To cube butter, cut cold butter sticks into ½ inch (1 cm) cubes. I like to do this by slicing the butter twice along it's length on two sides to create 9 equal sections on the short sides. Then slice into cubes and place in the freezer to keep cold while you prepare the other ingredients.
More gluten-free pie recipes
Looking for more gluten-free pie recipes? Check these out:


Annika says
This is my go to gluten free pie crust recipe! I’ve made it so many times now… at least 4 or 5! It tastes great, is it pick and easy, and flaky and buttery. Thank you for the recipe.
Kendall says
This is my go to recipe! Just a solidly delicious gf pie crust that’s also very easy. Thank you!
Vero says
This recipe made my holiday! I made no less than 8 pies following instructions as written. Actually the last two I used half shortening like a previous comment said. We liked both variations. I’m absolutely thrilled to find gf recipes that taste legit! Keep doing what you do!
Vero says
I want to add that I actually prefer the version with less ingredients to start, like just butter. If it was more complicated I probably would have been too scared to try. Like the gf apple fritters that are so simple I just had to give it a try! More recipes like this please!
Jamie says
I appreciate the feedback and I'm so glad you enjoyed the pie crusts!
Meg says
I made this exactly as listed for Thanksgiving, and it was a hit for everyone! This will be my go to pie crust recipe from now on.
Sonya says
Jamie, this is a great recipe! I made one change (because I didn’t have enough vegan butter for 4 single crust and 1 double crust pie)
I used half blue bonnet plant butter (in the tub) and 1/2 Spectrum palm shortening. No other changes and all the pies came out perfectly. Your instructions are spot on! Thank you!
Leila says
I just made this yesterday! I wanted to come back and thank you for making such an easy recipe. I used my neglected food processor and was so thrilled to have it turn out on my first try! Thank you for the recipe!
Jennifer says
I love this pie crust! It absolutely does taste flaky and buttery. I used the food processor method and it could not be easier. The photos are so helpful and so is the video! Thank you!