
This Pie Iron Apple Pie recipe is the perfect easy camping dessert! With the help of a pie iron, you can whip up a mouthwatering apple pie that will impress your friends and family. Whether you're camping, hiking, or simply enjoying a backyard barbecue, this recipe guarantees a delightful treat that will have everyone asking for seconds.
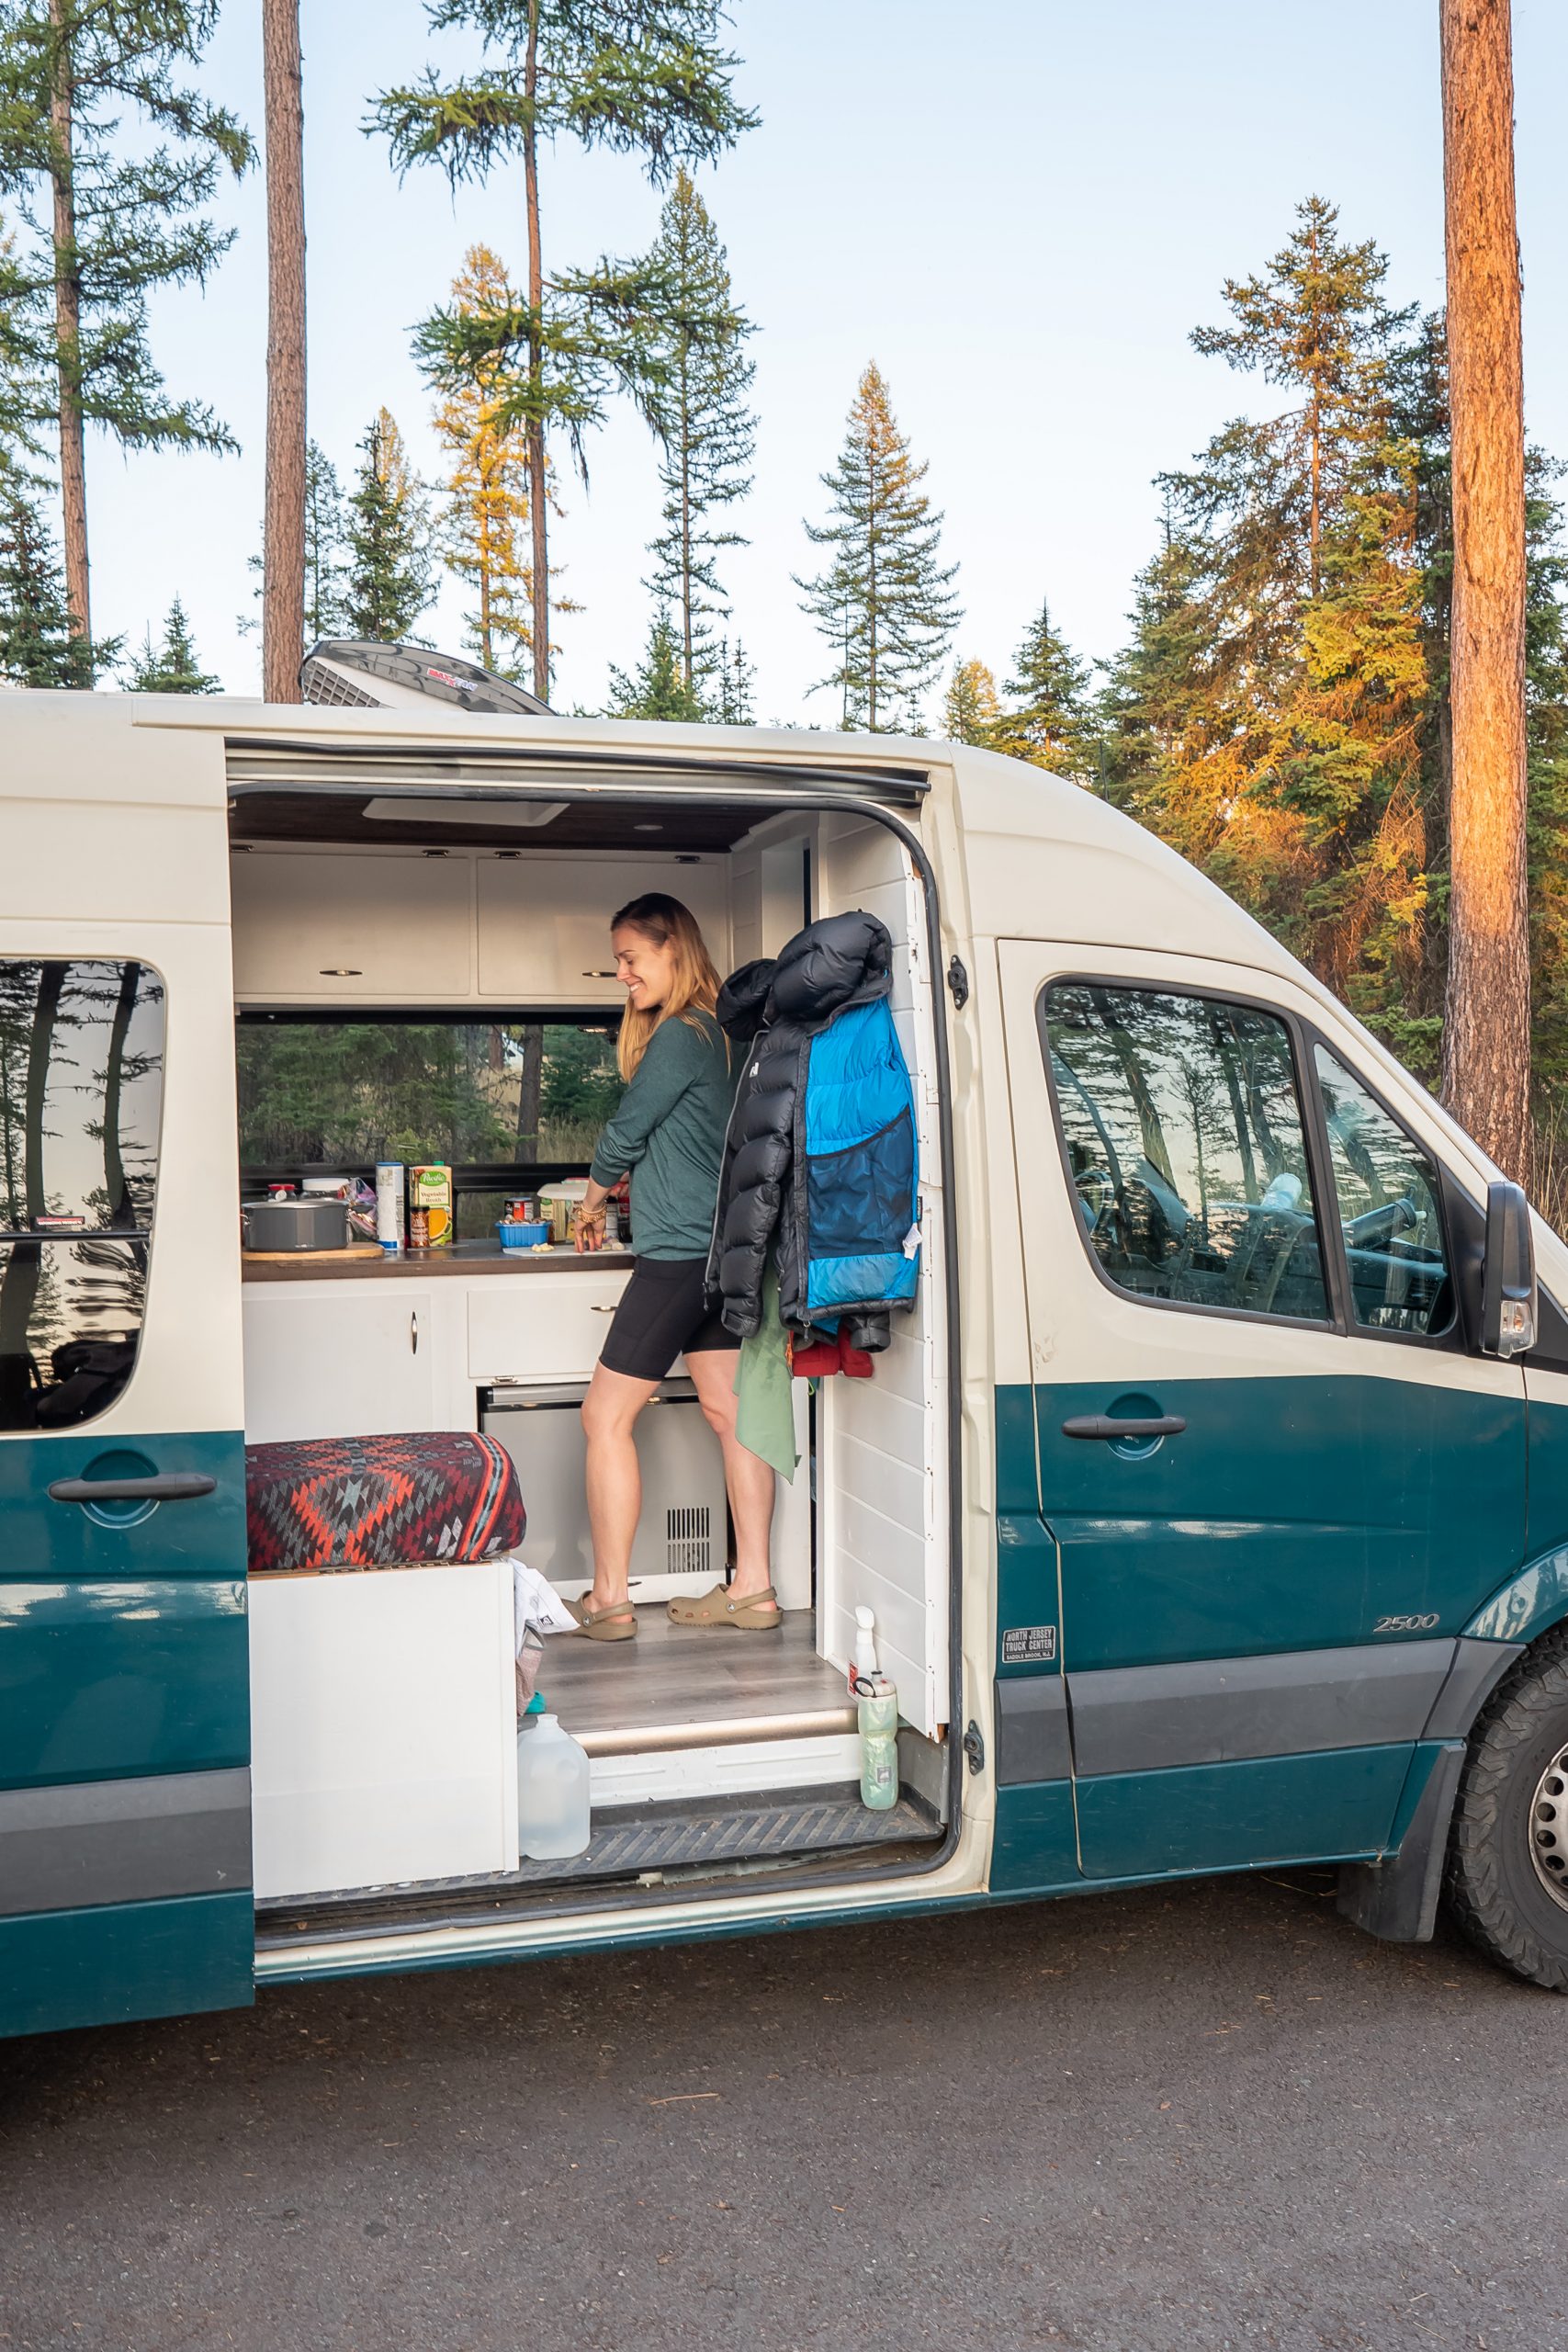
This pie iron apple pie recipe is inspired by the many food adventures I had in my Vanlife Kitchen! I lived and traveled in a camper van from late 2019 through to 2022, and many of my recipes were first created on the road. It's the easiest way to make a campfire apple pie and tastes a lot like the real thing -- even without the 'traditional' pie crust.
You can roast them over the fire like fancy adult s'mores and the crust stays crispy until the next day (we always save one for breakfast). It's also very easy to fit special dietary restrictions! This recipe is gluten-free, dairy-free, and vegan.
For more favorite camping and camp stove recipes, check out my Savory Pumpkin Stew, Dairy-Free Vodka Sauce Pasta, Easy Shrimp Paella, Thai Chicken Soup, Pork Green Curry, and Kale Lentil Curry.
If you're deciding between different apple desserts, you can browse all of my gluten-free apple recipes here.
What is a Pie Iron?
A Pie Iron is a piece of camp cooking equipment made of a pair of long metal sticks with a cast iron or aluminum 'sandwich maker' on the other side. They are perfect for savory sandwiches, like a toasty ham and cheese, or sweet treats like Pie Iron Apple Pie!
The pie iron that I use is Coghlan's Cast Iron Cooker. I recommend choosing a cast iron version for more even heating.
Get a single cast iron version rather than a double if you are new to pie irons. They usually cost around $15-20. Double-sized pie irons are popular too, but also very heavy. I also recommend buying a spare since the latches break.
What to know before you start
Use these tips to get a perfect crispy toasty pie iron apple pie on the first try!
It's all about the BUTTER!
For a traditional pie crust, you attempt to fold as much crisco or butter into the flour as possible, without it falling apart. For the easiest version of this recipe, you'll be using bread slices. Therefore, you need to add lots of extra coconut oil or butter for a crust that tastes crispy and buttery, just like the real thing!
Seriously, do not skimp on the butter. At worst, it will melt and run through the iron. At best, your pie crust will taste like it's homemade.
Dress up the filling!
This apple pie filling is super simplified with only 6 ingredients -- it's a classic we love! Feel free to add other fun ingredients to the filling like honey, raisins, lemon zest or whatever suits you!
Add more maple syrup if the apples are tart.
We picked a sweet apple variety that didn't need much sweetening. It's always a good idea to taste your filling before it's finished.
Don't leave out the starch.
Adding starch to the pie filling makes it gooey and sticky and helps it hold form. This prevents the pie filling from rolling or squishing out the side!
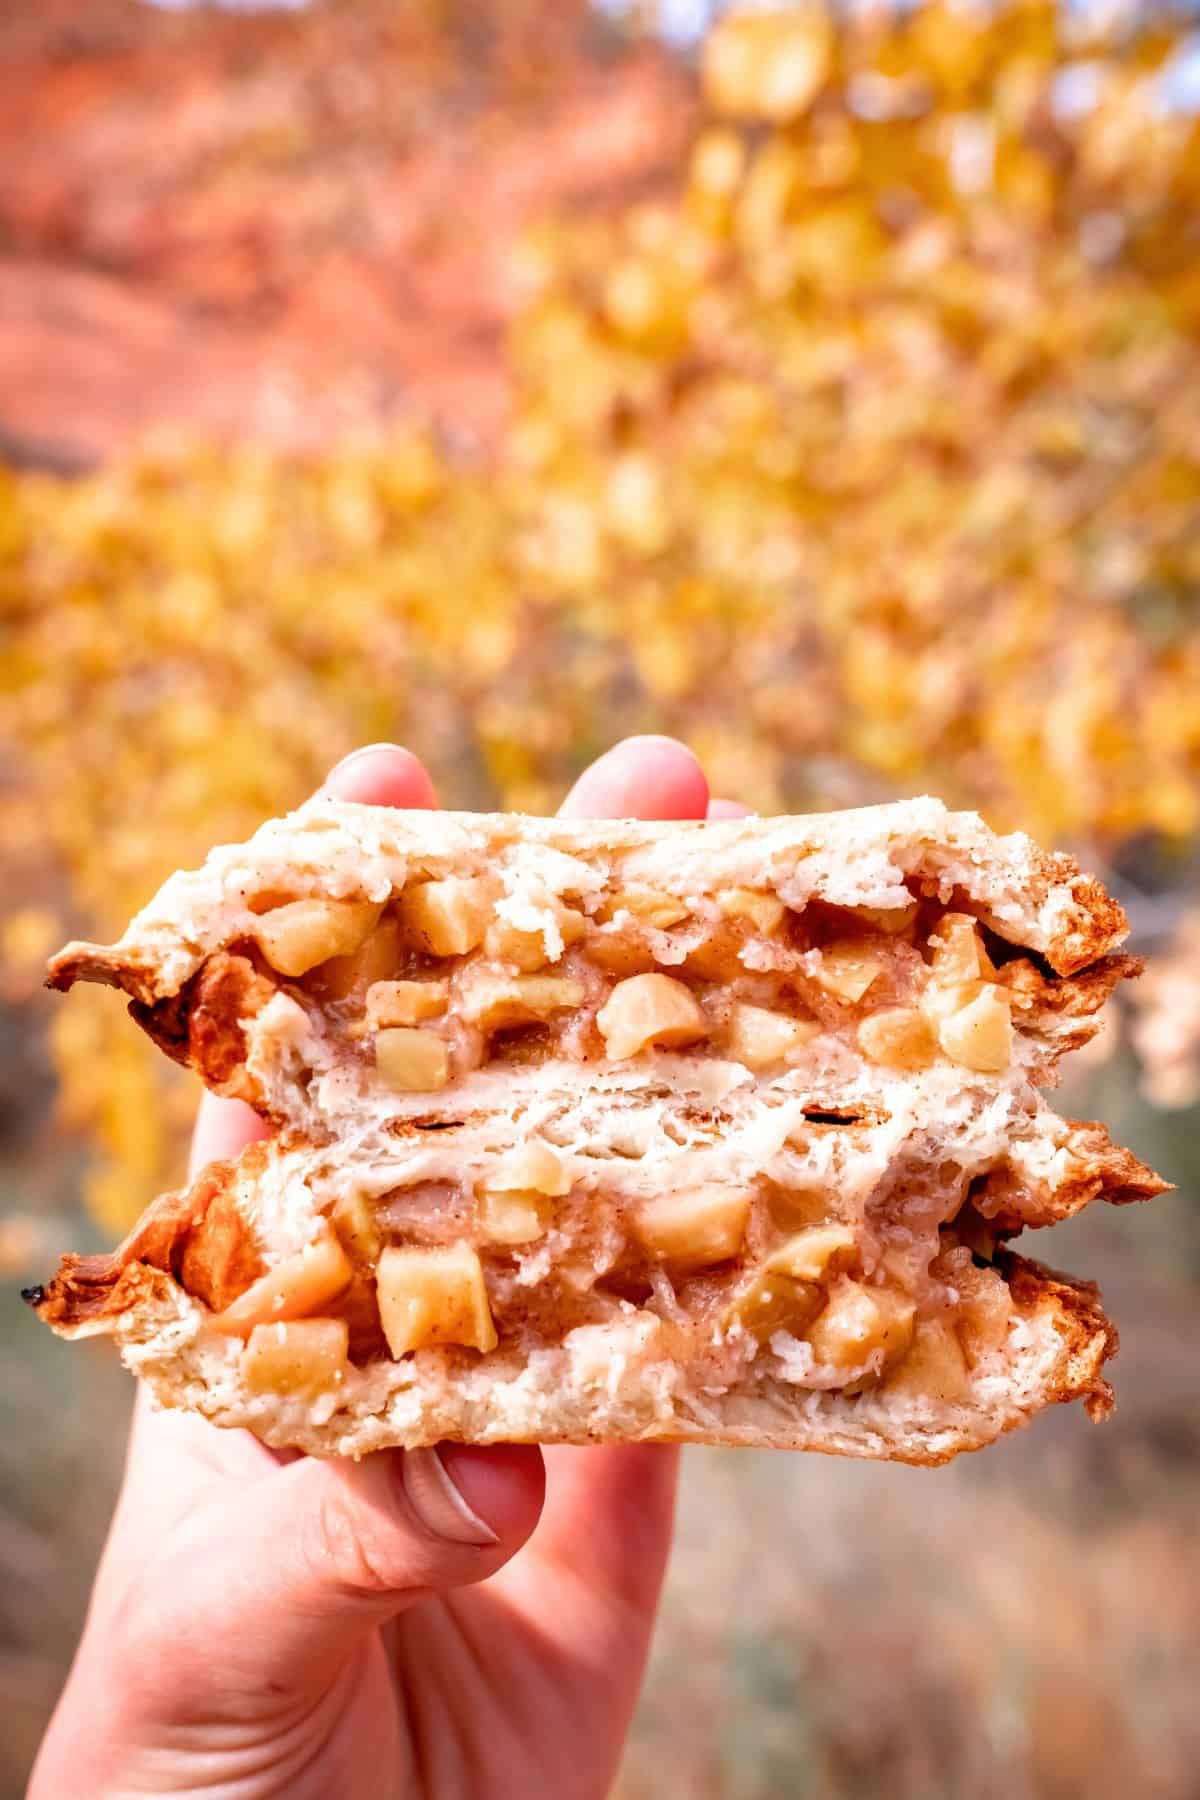
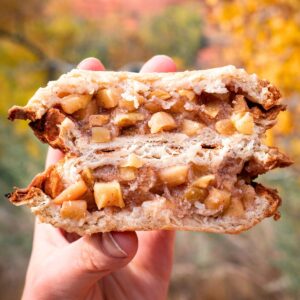
It's ok if your bread slices are "too small".
This is particularly important for my gluten-free friends, since GF bread is often small or hole-y or weird-shaped. We found that stuffing the holes with extra bread or adding an extra half to the bottom of the iron caused no problems at all -- just make sure you have enough butter to help it 'crisp together'!
You can see the 'bread line' in my pie where a second piece starts:

Step-by-Step: How to use a Pie Iron
Learn how to use a pie iron to make a campfire apple pie in six easy steps. You can apply this method to other campfire pie creations too -- see "More Filling Combinations" later in this post.
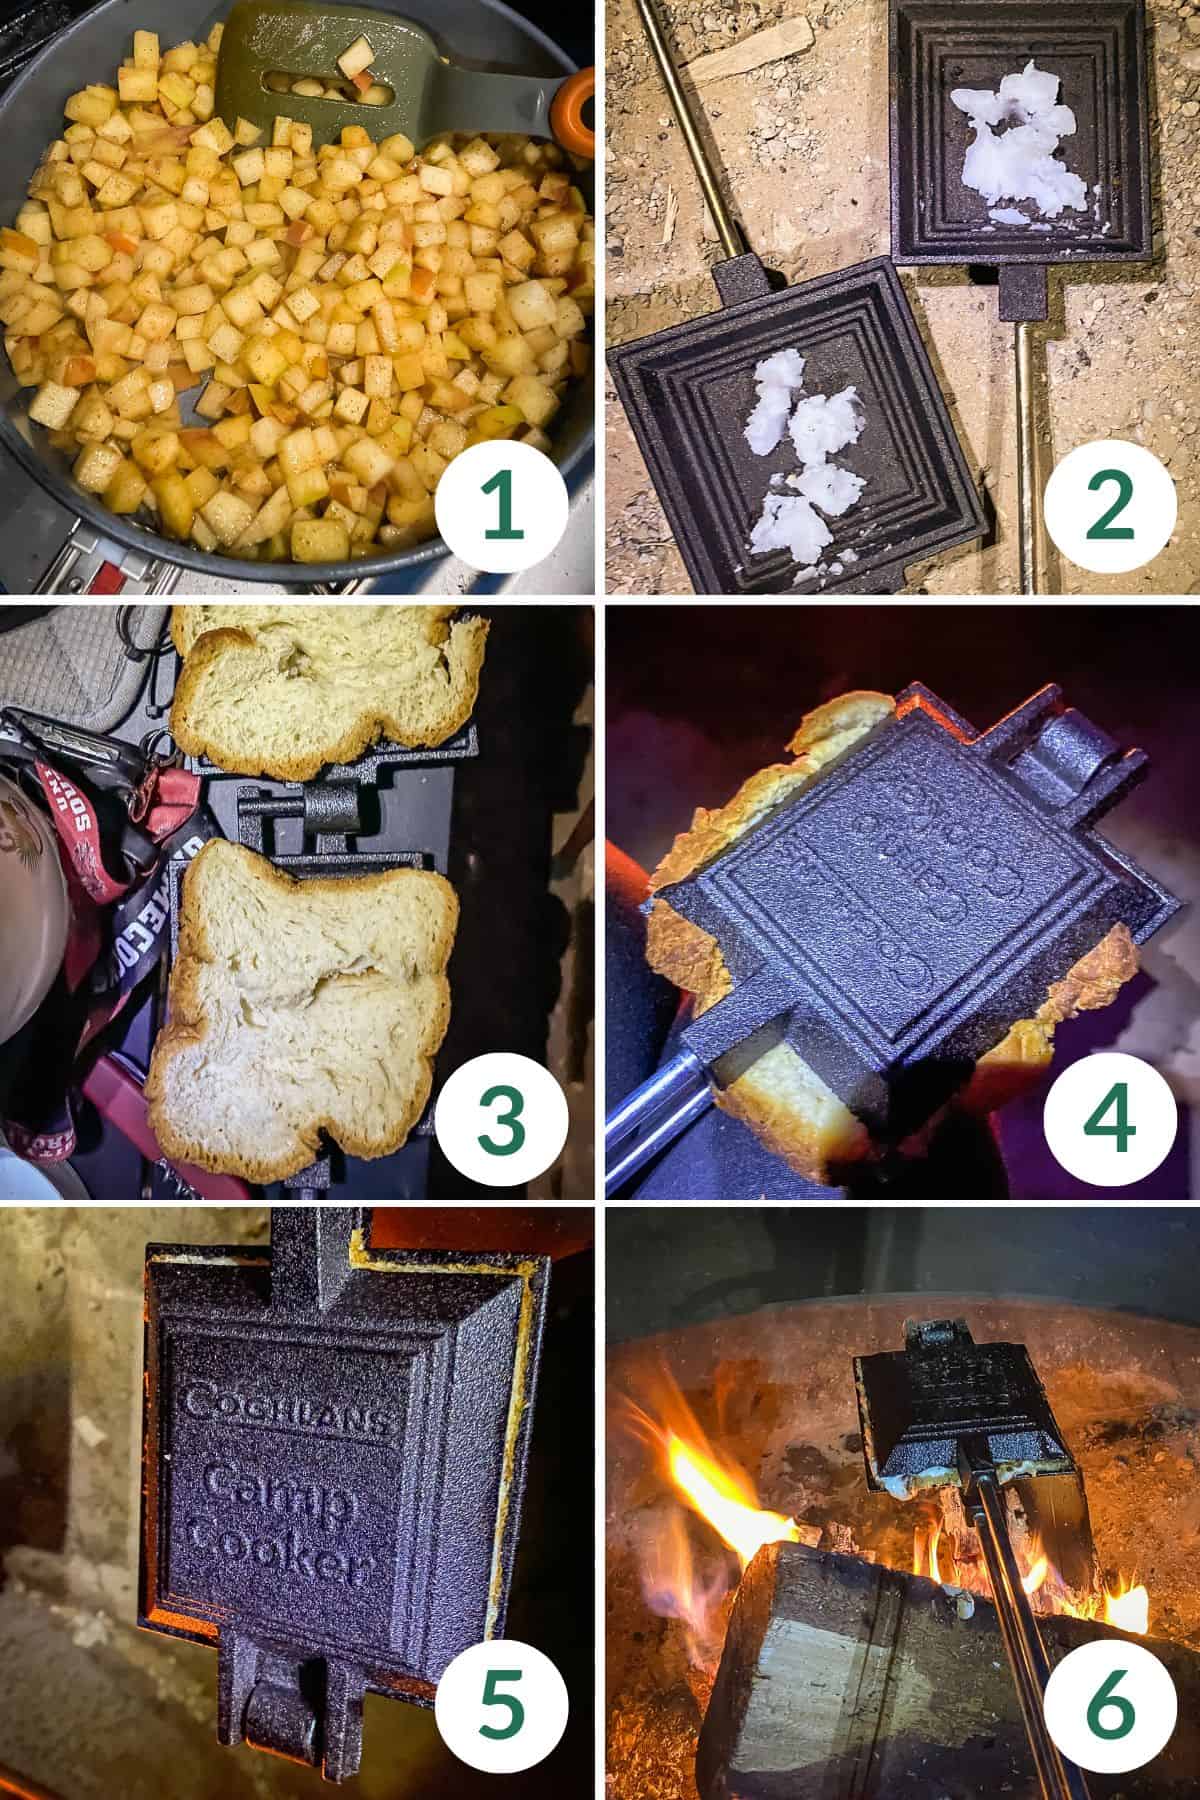
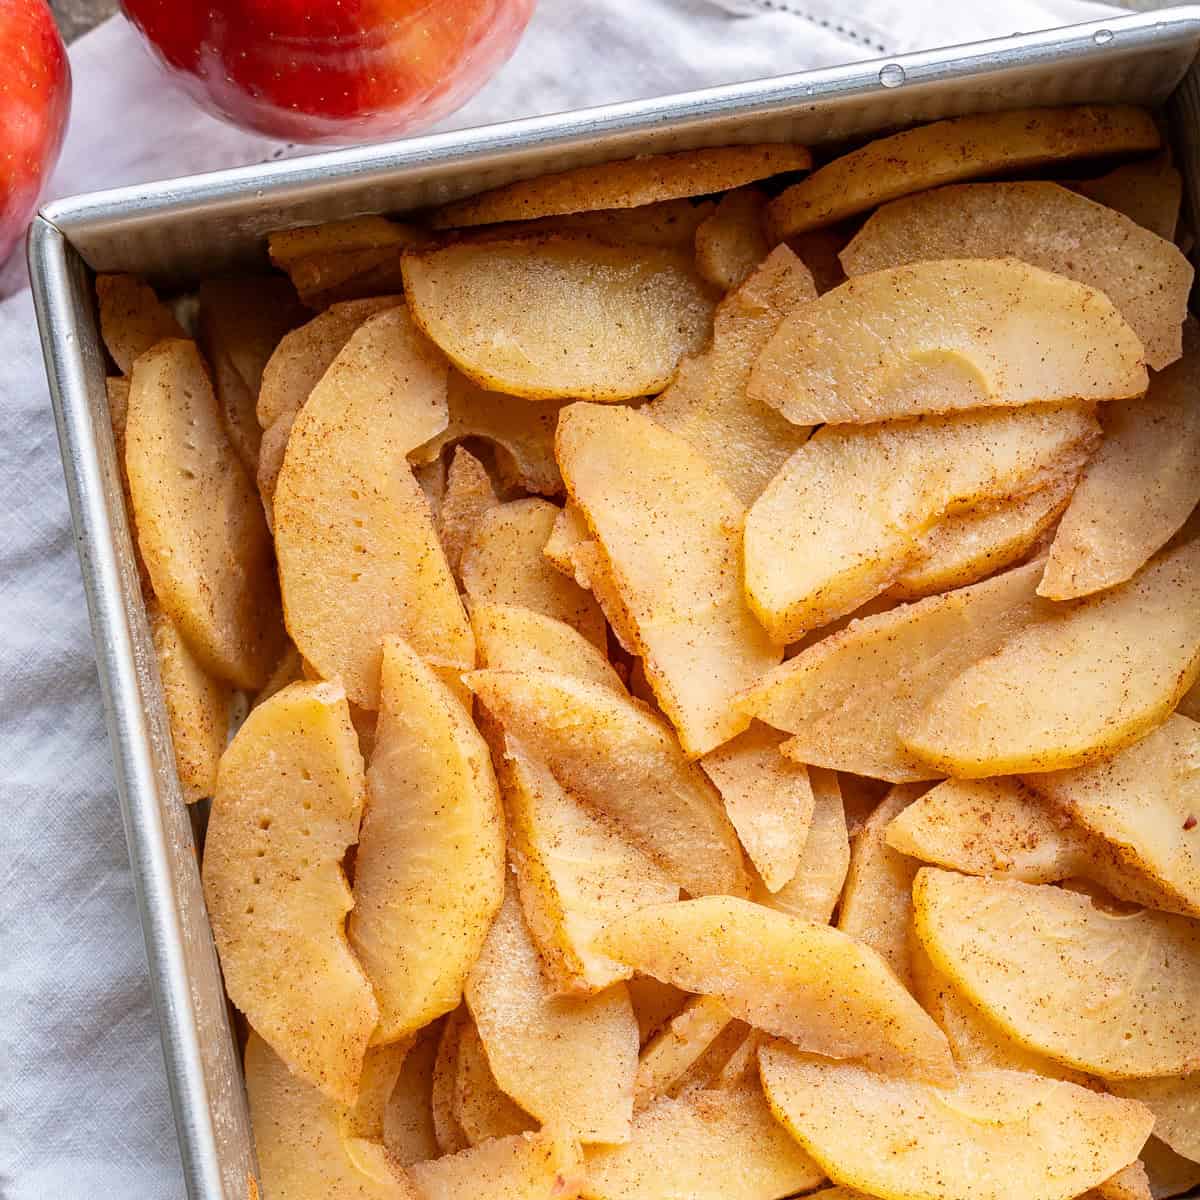
- Prep your filling. For this Pie Iron Apple Pie, you'll want to fry the apples beforehand (you could even do this the day before).
- Open up your pie iron and put a pat of butter on each side. Pro Tip: Warm the pie iron in the fire first! It's not necessary, however it makes for a crispier crust in the end. Warm just enough to heat through but don't start filling until it's cool enough to touch. They can get very hot.
- Put a slice of bread on each side. Fill in holes and add extra pieces if needed to cover the entire pie plate and extend outside the iron.
- Layer your fillings. Then close the iron. Make sure the latch is properly positioned so it doesn't break! They can usually handle a good amount of force. If you have latches and hooks farther up the handle, make sure to secure these too.
- Trim the bread outside of the iron. The more you trim the less likely your pie is to catch fire.
- Roast over the fire until desired crispiness. We usually roast 5-7 minutes and then check the pie. I roast mine slowly above the flame -- it usually take 10+ minutes. Lucas likes to put his straight in the fire and finishes in less than 10 minutes.
- Remove the pie and enjoy warm! Usually one side will loosen more easily (this becomes the top) and we use a metal spork to loosen the edges of the bottom.
More Filling Combinations
Pie irons are so fun to use and there are endless combinations! Here are some of my favorite sweet and savory varieties:
Savory
- Ham and cheese
- Turkey and cheese
- Goat cheese and roasted kabocha squash
- Pizza sauce, mozzarella, pepperoni, and roasted chopped green bell peppers (optional)
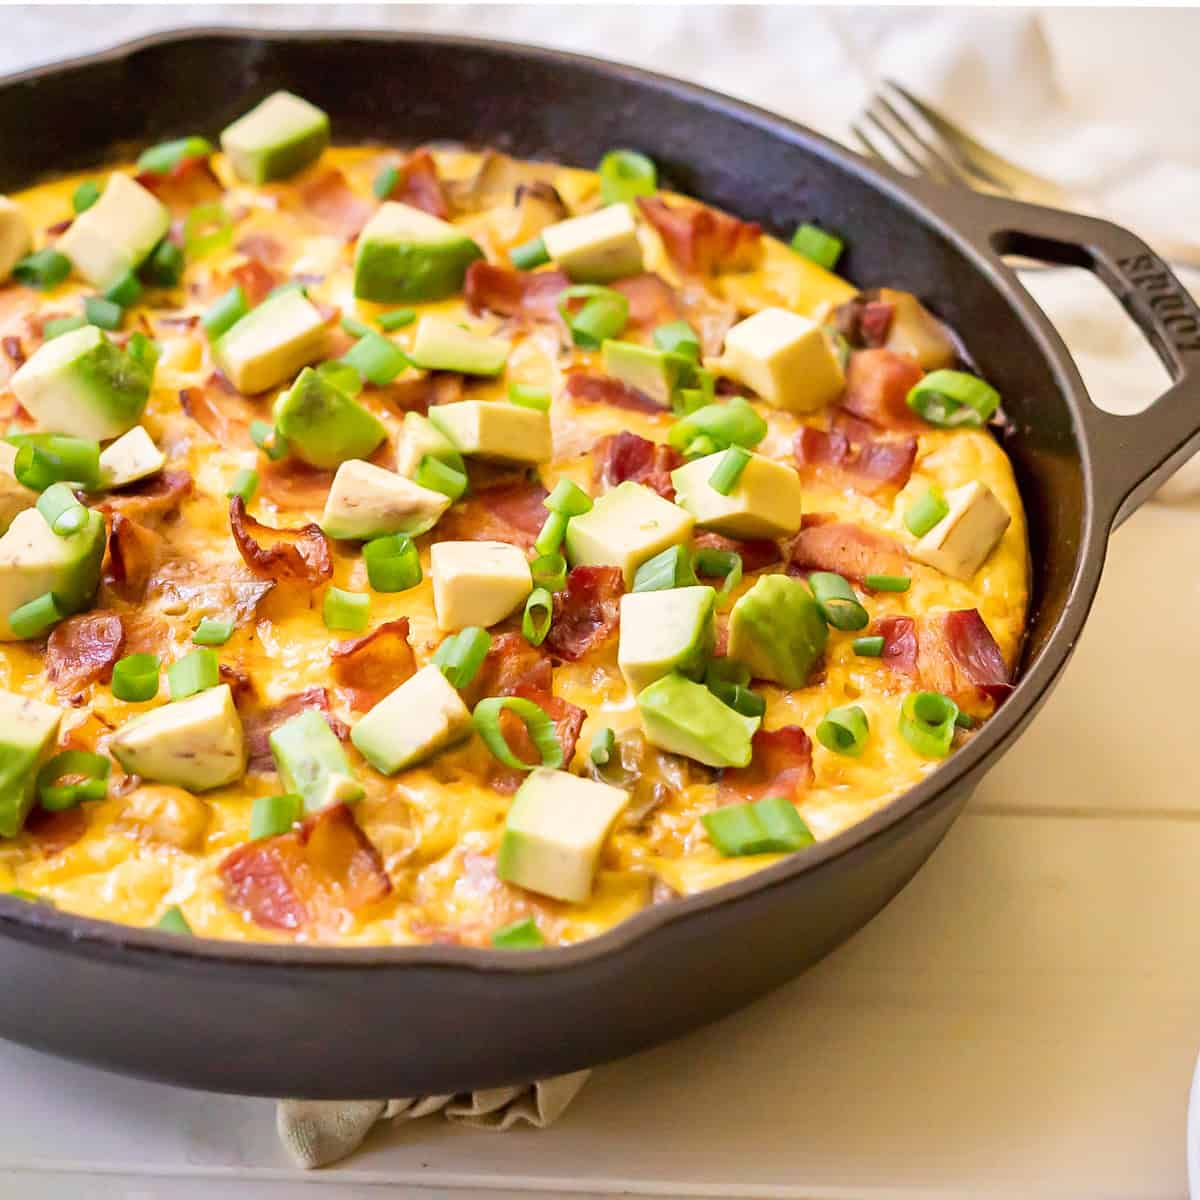
- Scrambled eggs, cheese, and sausage or bacon bits
- Leftover or canned chili and cheese
Sweet
Swap the apple pieces for other fruits and follow the recipe as listed with:
- blueberries
- blackberries
- strawberries
- peaches
- cherries
Outside of fruit pies, I mostly make varying combinations of peanut butter, chocolate, and marshmallow fluff. Roasted fluffernutters (peanut butter and marshmallow fluff) is a personal favorite.
Related camping recipes to consider...
Looking for more camping recipes like this pie iron apple pie? These are all favorites I bring along or make on my camp stove.


More apple dessert recipes
Each of these apple desserts work well for different occasions, from holidays to casual treats.
- Gluten-Free Apple Pie - classic oven-baked version
- Apple Crumble Recipe (without oats) - easier no-crust option
- Gluten-Free Apple Fritters - indulgent weekend treat
- Gluten-Free Apple Coffee Cake - great for brunch or guests
- Baked Cinnamon Apple Slices - simple, unfussy option


Love this recipe? Please leave a 5-star 🌟🌟🌟🌟🌟 rating in the comment field below. Thank you!
📖 Recipe
Pie Iron Apple Pie
Ingredients
The Filling
- 2 tablespoons coconut oil or butter
- 2 medium apples , diced, peeled if you like
- ½ teaspoon cinnamon
- ¼ teaspoon nutmeg
- 1 teaspoon lemon zest
- 2 tablespoons maple syrup
- 3 tablespoons tapioca starch to thicken. You can use regular flour or gluten-free flour as a substitute.
The Crust:
- 4 large slices of bread , you may need extra slices if your bread is smaller than the pie iron
- 3 tablespoons coconut oil or butter
Instructions
The Filling
- Melt coconut oil in a pan on medium-high heat. Then add apples, cinnamon, nutmeg, and lemon zest. Cook for about 7 minutes until apples soften, stirring on occasion to prevent burning.
- Add maple syrup and cook for another 3 minutes, stirring consistently. Then turn off the heat, add tapioca starch and stir to combine. The texture should be sticky and gooey without too much extra liquid.
Using the Pie Iron
- Place a pat of butter/coconut oil on each side of the pie iron. Then place one large slice of bread across each side. If bread is too small, patch the holes with additional pieces of bread. Bread should fill the entire iron with the crust sticking out the side.
- Add ⅓ to ½ cup of filling to one side. Then close the iron. Make sure to maintain the proper positioning of the latch so it doesn't break. If you have latches and hooks farther up the handle, make sure to secure these too.
- Use a knife to trim the bread outside of the iron. The more you trim, the less likely your pie is to catch fire.
- Roast over the fire for 5 to 10 minutes. We like to keep the irons just over the flames and open the pie iron after about 5 to 7 minutes to check for desired crispiness. I roast mine until golden brown.
- Remove the pie and enjoy warm! Usually one side will loosen more easily (this becomes the top) and we use a metal spork to loosen the edges of the bottom.
Fey says
Good call on the starch to thicken the filling! My boyfriend left it out and his squished out lol
AJ says
This is great campfire food!!!
Stephanie says
I was really surprised--they taste surprisingly close to the real thing! I love the spicing of the filling and I definitely recommend using butter generously for the best crust texture.
Eric says
I love making these around the fire with friends! S'mores are great, but pie iron apple pie? MMMmmmm...so good!