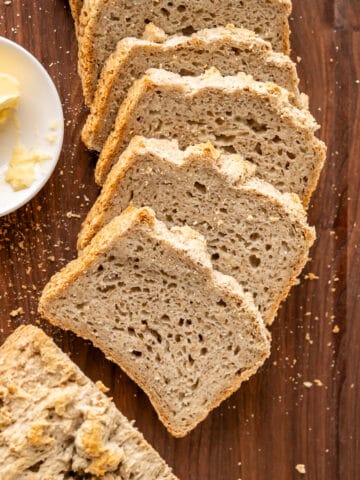
This soft and tasty gluten-free white sandwich bread is everything you've been missing! It has that classic yeast bread taste, excellent rise, nice-sized slices, and no giant holes like the ones you get from the store. It has a creamy, buttery flavor and a soft texture that holds together when sliced thinly.
This very classic gluten-free sandwich bread recipe is made the traditional way, but with only one rise. We'll mix the dough, knead it, and let it rise before baking with a perfect golden crust.
This easy gluten-free bread recipe is vegan and dairy-free.
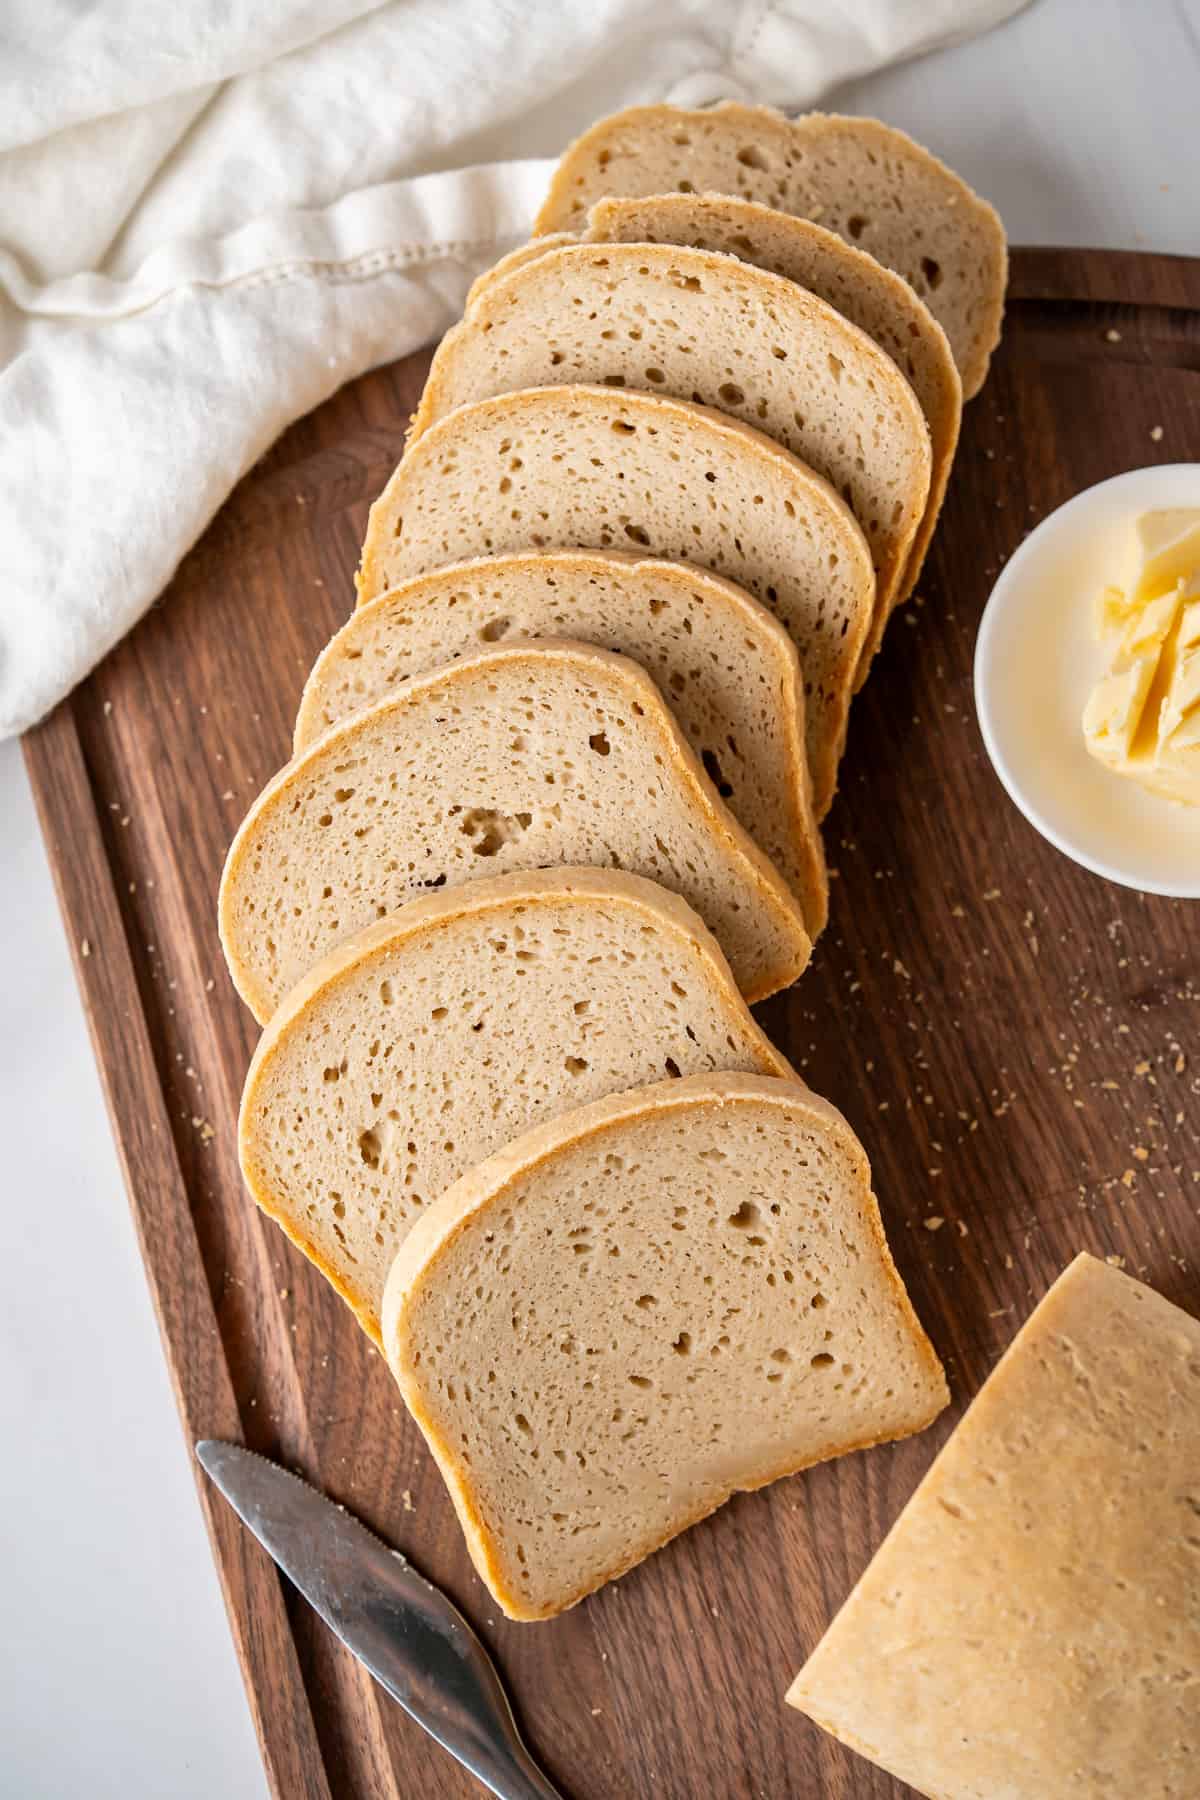
I make this gluten-free white sandwich bread recipe year round, since sandwiches are something I eat frequently for lunch. The slices are also very toastable for breakfast, and taste great with a little butter or coconut oil.
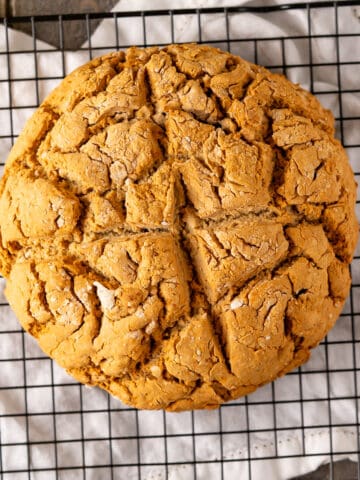
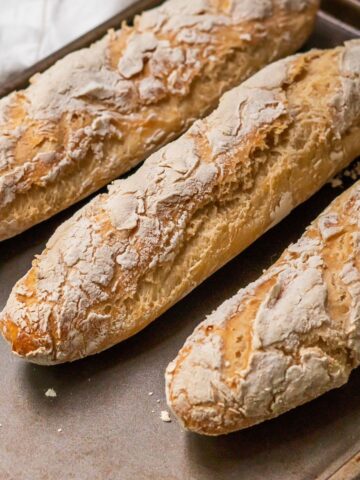
For more delicious gluten-free bread recipes, check out my Simple Gluten-Free Artisan Bread (which is very similar to this recipe but with water and olive oil), No Knead Gluten-Free Bread, Gluten-Free Irish Soda Bread, and Foolproof Gluten-Free French Baguettes.
Recipes I enjoy frequently with this gluten-free sandwich bread include Dairy-Free Pesto, Canned Chickpea Hummus, Black Bean Hummus, and Sautéed Peppers and Onions.
Jump to:

How to make it (with photos)
Ingredients Notes + Substitutions
Just like the traditional, this classic gluten-free sandwich bread recipe uses yeast, a milk of your choosing, and flour. Plus a few other ingredients to enhance the flavor and texture.
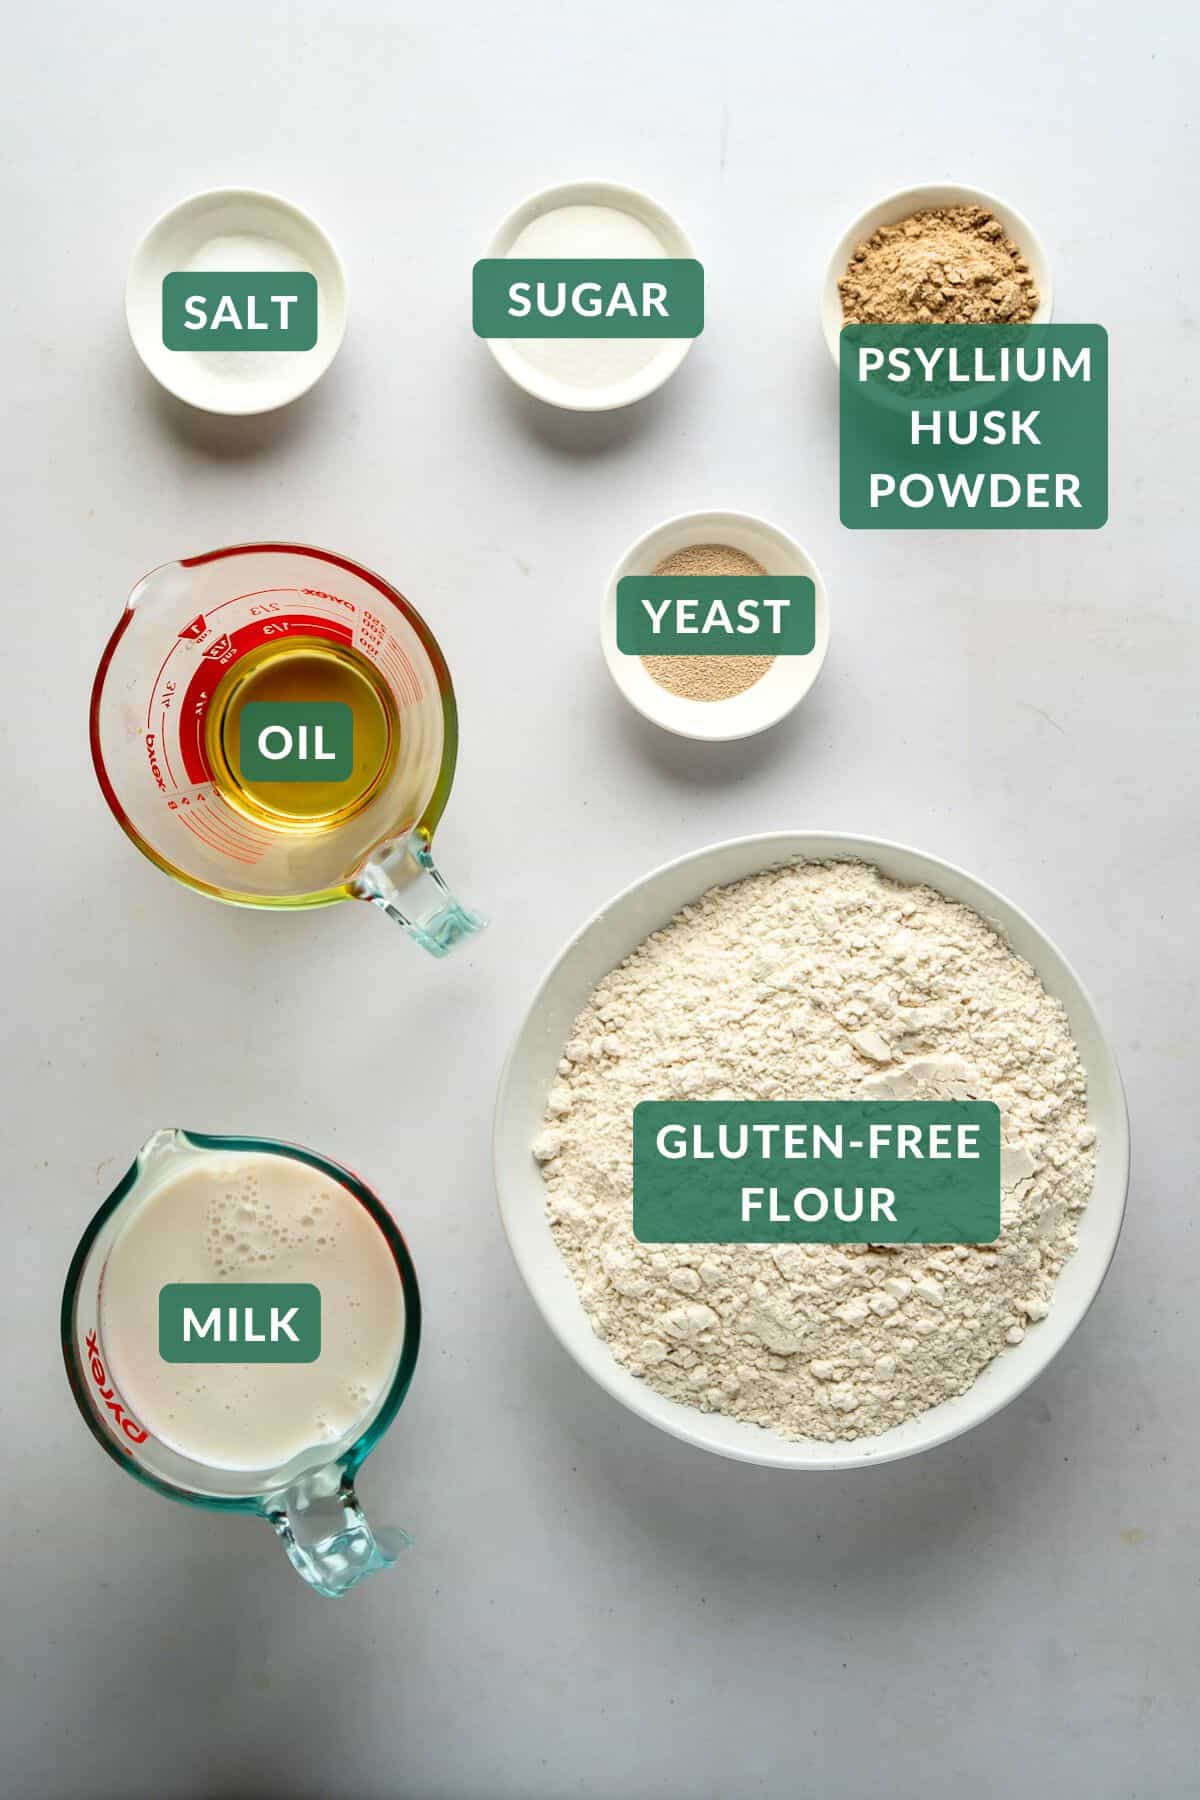
Gluten-Free Flour
I use Bob's Red Mill 1-to-1 Gluten-Free Baking Flour and it worked just as well as Pamela's All Purpose Gluten-Free Flour, despite having a claim that "it's not for use on yeasted breads" on the bag. I can't guarantee other flour blends with this warning will work because I haven't tried them all. If you use a different gluten-free flour, please leave a comment to let us know how it worked!
Pysllium Husk Powder
I do not recommend substitutions for psyllium husk powder in this recipe. The internet recommends a few other ingredients (like chia seeds, or ground flaxseed) as substitutions, but I tried them and they did not rise nearly as well or create a kneadable bread in my trials.
Psyllium Husk Powder is intensely magical for making gluten-free bread kneadable so that it rises high and holds its shape. I 10/10 recommend keeping this ingredient on hand and will be experimenting with it more in my existing recipes, as well as new ones.
It also has a neutral flavor. If you don't have psyllium husk and would like to try making gluten-free bread with chia seeds, check out my No Knead Gluten-Free Bread.
More Ingredient Notes
- milk of choice - I tried this recipe with unsweetened almond milk and 2% dairy milk, and both worked great. You can also substitute water for milk in this recipe. My Gluten-Free Artisan Bread is very similar to this recipe and uses water instead of milk, plus a different oil.
- sugar - Sugar is needed to feed the yeast so they activate properly. You can replace the sugar with an equal amount of brown sugar, honey, or maple syrup. White sugar has the most neutral taste, and you will taste a hint of other sweeteners that have a more distinct flavor.
- yeast - I found the best rise with active dry yeast in my recipe trials. I also tried Instant Yeast mixed into the flour mixture. It worked but this gluten-free white bread was a little more dense with instant yeast.
- oil - For this gluten-free white bread, I generally use avocado oil. Its neutral taste brings out the creamy traditional flavor of white bread. You can also use vegetable oil which has a fairly neutral flavor, and olive oil which will have a more distinctive flavor. I use olive oil in my Gluten-Free Artisan Bread Loaf, which is very similar to this recipe.
You can also substitute butter, vegan butter, or coconut oil in equal amount. With these ingredients, you will need to melt the butter to liquid first (but not too hot or it could kill the yeast) and I recommend eating the bread in the first 2-3 days because it is a little bit drier with butter or coconut oil since they are solid at room temperature.
You also need salt to make the best-tasting gluten-free white bread.
See recipe card for a full list of ingredients and quantities.
Step-by-Step Instructions
I broke this white gluten-free sandwich bread recipe down into 8 easy-to-follow steps!
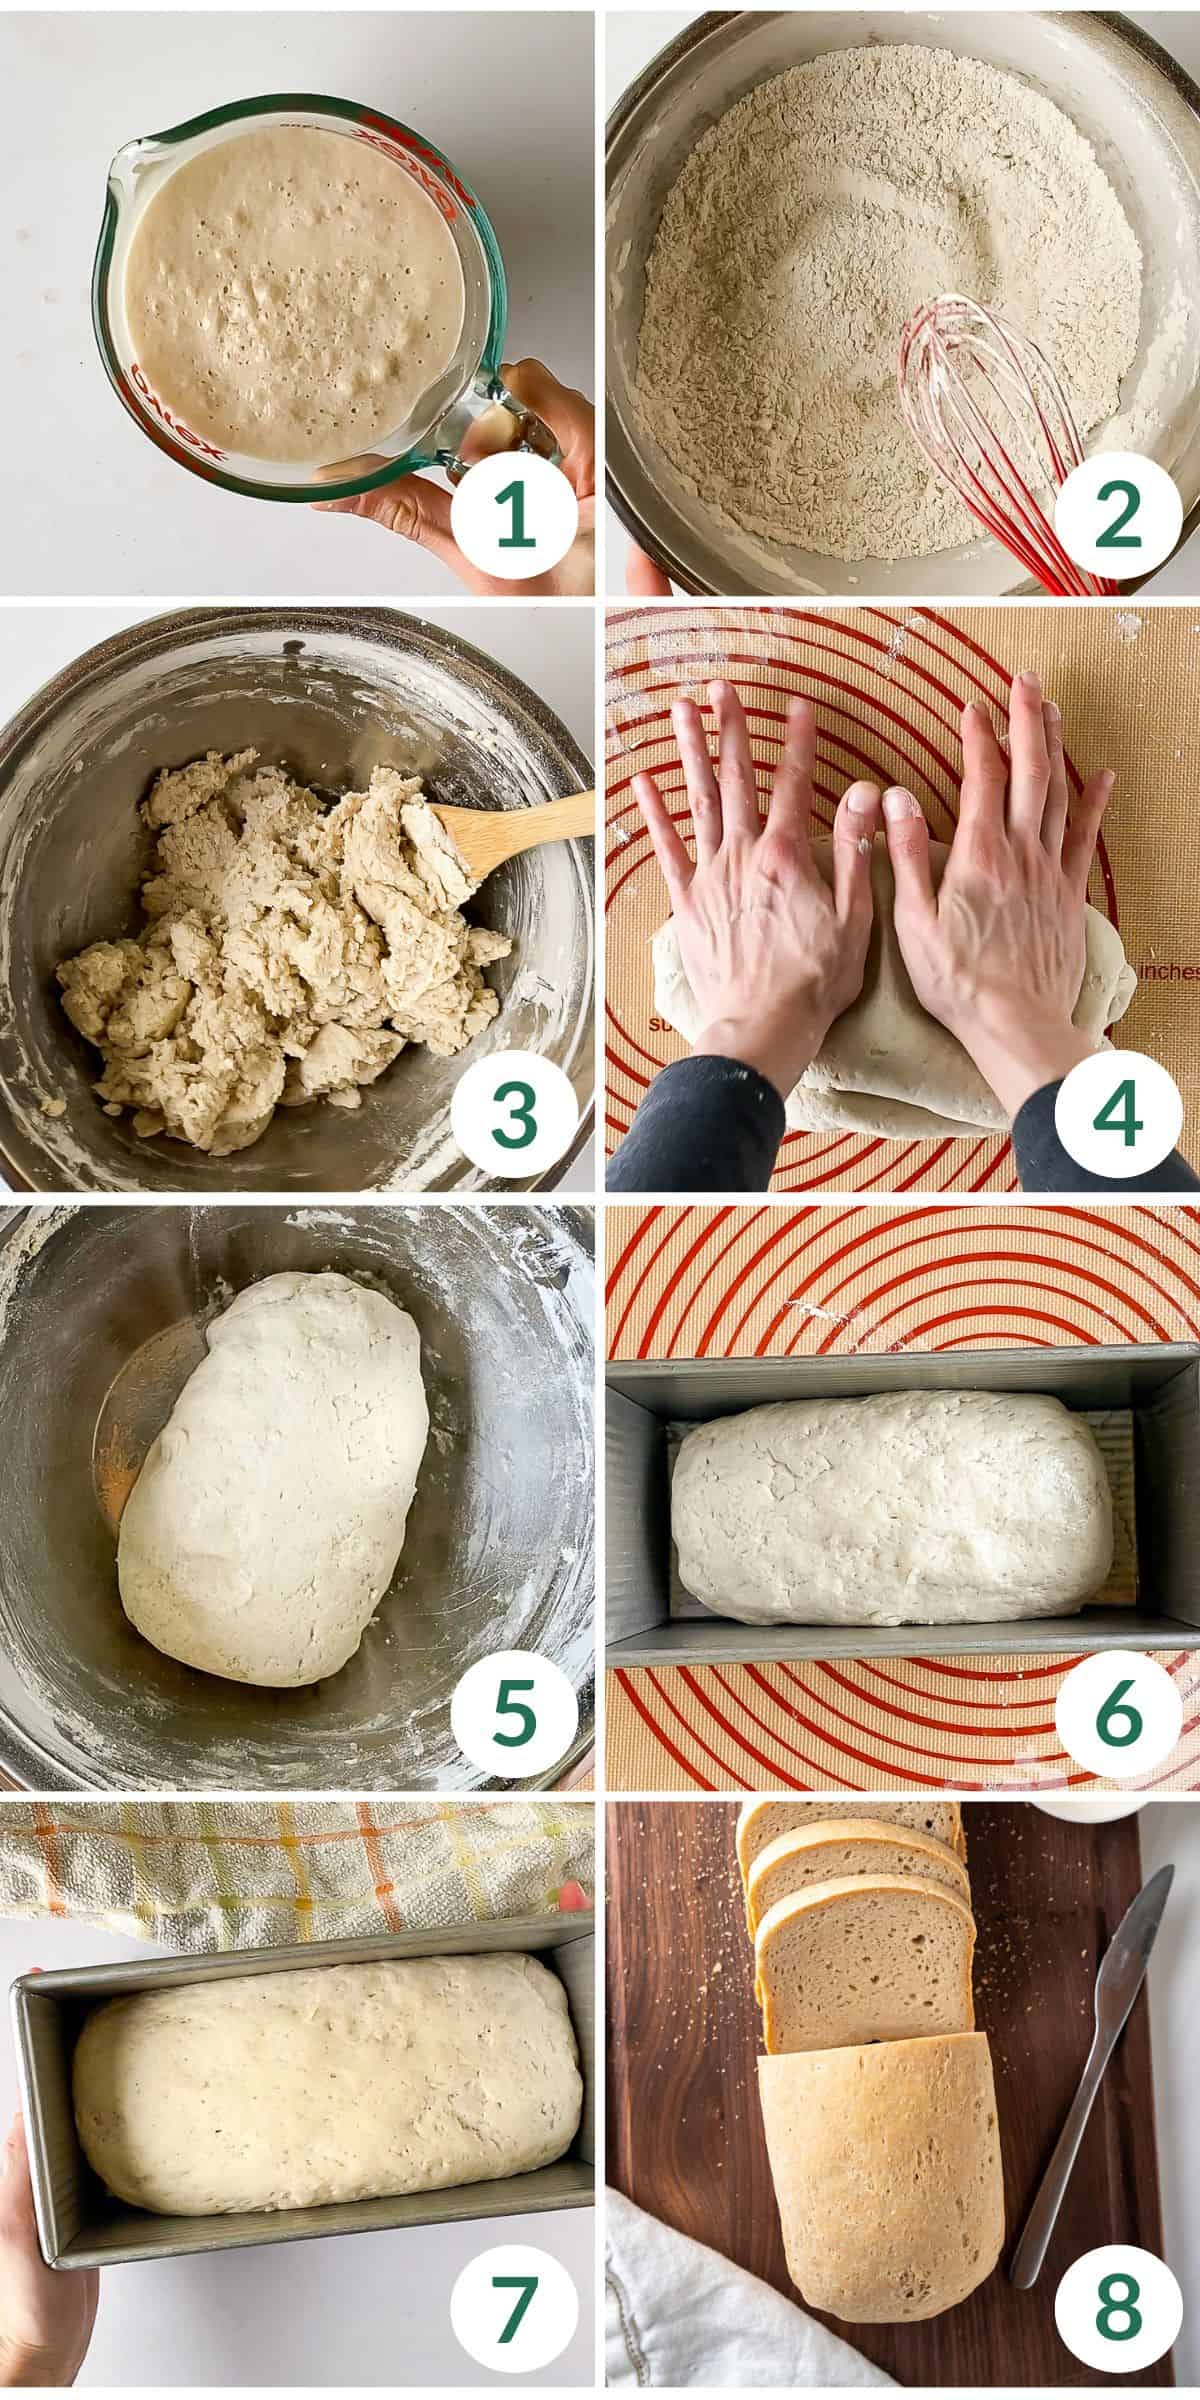
- Activate the yeast: Warm the milk to 105 degrees F in the microwave or on the stove. Stir in the sugar until it dissolves, then add the active dry yeast and stir. Set aside for 5 minutes or until the yeast begins frothing. If there is no frothing, your yeast is bad and you need to try again with new yeast.
- Whisk the flour mixture: Meanwhile, whisk together the gluten-free flour, psyllium husk powder, and salt. Lightly oil a loaf pan while you wait for the yeast mixture to froth.
- Make the dough: Make a well in the center of the flour and add the milk mixture. Stir together using a wooden spoon. When stirring becomes difficult, add the oil and continue mixing. When stirring becomes difficult again, lightly flour your hands (with gluten-free flour) and continue mixing the dough until it is uniform. Then let it rest for 5 minutes while the flour and psyllium husk powder absorb the liquid.
- Knead: Lightly dust a smooth surface with gluten-free flour and dust your hands with flour as well. Scoop up the dough and begin kneading, just like you would with traditional bread. You will need to knead this dough for 15-20 minutes before it passes the standard tests for properly kneaded dough. These include the poke test and the "window test". See the notes for more info on kneading if you are new to this skill. This bread will go through a phase of being very sticky, about 10 minutes in. You need to continue kneading through this sticky phase. Lightly flour your hands as needed, but don't overdo it.
- Oil and form a loaf: When the dough passes the kneading tests, pour and spread just a little bit of oil (about ½ teaspoon is fine) along the bottom of the original mixing bowl. Place your dough ball in the bowl and gently turn the ball so that all sides are very lightly coated with oil. Then gently form the ball into a shape that's a cross between a log and an oval that fits neatly in your loaf pan, with any seams placed underneath the dough along the bottom of the pan.
- Let rise: Loosely cover the dough with a towel and set in a warm place to rise for 2 hours or until the loaf has doubled in size. See notes for suggestions if your house is cold. As you near the end of the rising time, preheat the oven to 425 degrees F.
- Bake: Bake the loaf at 425 degrees F on a rack set in the bottom ⅓ of the oven for 35 minutes. Then reduce the temperature to 375 degrees for an additional 30 minutes, or until the loaf is finished baking. You know the sandwich bread is finished baking when the crust is solidly golden brown in color, tapping a fingernail on the crust creates a hollow sound, and the internal temperature of the loaf is 190 degrees F (temperature is the most accurate test for doneness).
- Cool: Allow the loaf to cool in the pan for 10 minutes. Then gently transfer to a cooling rack to cool completely before slicing and eating.

Kneading Gluten-Free Bread
Follow these guidelines for perfectly kneaded gluten-free bread dough!
- Knead just like regular bread dough, but expect it to be a little stickier and take a little longer. It takes nearly 20 minutes of constant kneading for this dough to truly transform. For most traditional breads, it takes under 15 minutes. The result is well worth it! Also, using your hands productively is proven to release serotonin, so therefore gluten-free bread bakers who knead are engaging in an activity to improve our mood!
- Expect your finished kneaded gluten-free bread dough to pass both the poke test and window test. If you kneaded bread dough before baking with gluten-free flour, this recipe will hopefully impress you as much as it did me! And while it WILL pass these tests, know that it isn't quite as perfect as kneaded gluten dough, but it will pass and is very satisfying.
- Lightly flour your hands as needed, but don't overdo it! Adding too much flour can dry out the dough, and therefore your gluten-free sandwich bread loaf. Use just a dusting and knead through the sticky phase even if it's a little stuck to your hands.
- Lightly flour your surface OR use a lightly floured large silicone baking mat. I prefer this extra large silicone baking mat, and have found it to be incredibly useful for gluten-free baking because it is *always* a little stickier than regular bread dough. It's also really helpful for making Gluten-Free Cinnamon Rolls.
For more expert tips on how to knead dough, check out this video from Sally's Baking Addiction, which covers the basics on how to knead dough. I'll record a gluten-free bread kneading video as soon as I can, but in the meantime, I found this video helpful as a new gluten-free bread baker.
I also have more tips on kneading gluten-free bread dough in the expert tips section of my Simple Gluten-Free Artisan Bread.
Expert Tips
Make excellent gluten-free white bread on the first try with these expert tips!
Keep Flavors simple.
This is a white bread loaf, and the creamy milk, classic yeast, and buttery oil flavors are very delicate. Adding olive oil or another flavorful oil will significantly change the overall flavor. This is also true with flavored sugars, like honey, brown sugar, molasses, or maple syrup.
Know what to expect while kneading gluten-free dough.
If you skipped to this section and want to make expert gluten-free bread on the first try, make sure to read the section above on Kneading Gluten-Free Bread so you know what to expect from this dough. It is very similar to traditionally kneaded dough, but not exactly.
Recipe FAQs
Here I answered some frequently asked questions about this Gluten-Free Sandwich Bread. Don't see your question? Leave it in the comments at the end of this post and I'll answer within two business days.
Store leftover gluten-free sandwich bread wrapped tightly in plastic wrap or foil at a cool room temperature for up to 5 days. Refrigeration can significantly dry out this bread. To freeze, I recommend wrapping bundles of 2-4 slices tightly in multiple layers of plastic wrap before placing in the freezer.
In my many gluten-free bread trials, I found that active dry yeast worked best for gluten-free bread baking.
Avocado oil has a buttery mostly neutral flavor that I enjoy more than the flavor of vegetable oil. Vegetable oil also works well in this recipe.
Related gluten-free bread recipes to consider...
Looking for more gluten-free bread recipes like this gluten-free white bread? Check these out!
Love this recipe? Please leave a 5-star 🌟🌟🌟🌟🌟 rating in the recipe card or comment field below. Thank you!

Gluten-Free White Sandwich Bread
Ingredients
- 2 ¼ cup milk of choice , see notes
- 2 tablespoons sugar
- 2 ¼ teaspoon active dry yeast , or 1 packet
- 4 cups gluten free all purpose flour with xanthan gum (I used Bob's Red Mill 1-to-1 gluten-free baking flour) (555 grams)
- 3 tablespoons psyllium husk powder
- 2 teaspoons salt
- ¼ cup avocado oil , vegetable oil, or olive oil (59 ml)
Instructions
- Activate the yeast: Warm the milk to 105 degrees F in the microwave or on the stove. Stir in the sugar until it dissolves, then add the active dry yeast and stir. Set aside for 5 minutes or until the yeast begins frothing. If there is no frothing, your yeast is bad and you need to try again with new yeast.
- Whisk the flour mixture: Meanwhile, whisk together the gluten-free flour, psyllium husk powder, and salt. Lightly oil a loaf pan while you wait for the yeast mixture to froth.
- Make the dough: Make a well in the center of the flour and add the milk mixture. Stir together using a wooden spoon. When stirring becomes difficult, add the oil and continue mixing. When stirring becomes difficult again, lightly flour your hands (with gluten-free flour) and continue mixing the dough until it is uniform. Then let it rest for 5 minutes while the flour and psyllium husk powder absorb the liquid.
- Knead: Lightly dust a smooth surface with gluten-free flour and dust your hands with flour as well. Scoop up the dough and begin kneading, just like you would with traditional bread. You will need to knead this dough for 15-20 minutes before it passes the standard tests for properly kneaded dough. These include the poke test and the "window test". See the notes for more info on kneading if you are new to this skill. This bread will go through a phase of being very sticky, about 10 minutes in. You need to continue kneading through this sticky phase. Lightly flour your hands as needed, but don't overdo it.
- Oil and form a loaf: When the dough passes the kneading tests, pour and spread just a little bit of oil (about ½ teaspoon is fine) along the bottom of the original mixing bowl. Place your dough ball in the bowl and gently turn the ball so that all sides are very lightly coated with oil. Then gently form the ball into a shape that's a cross between a log and an oval that fits neatly in your loaf pan, with any seams placed underneath the dough along the bottom of the pan.
- Let rise: Loosely cover the dough with a towel and set in a warm place to rise for 2 hours or until the loaf has doubled in size. See notes for suggestions if your house is cold. As you near the end of the rising time, preheat the oven to 425 degrees F.
- Bake: Bake the loaf at 425 degrees F on a rack set in the bottom ⅓ of the oven for 35 minutes. Then reduce the temperature to 375 degrees for an additional 30 minutes, or until the loaf is finished baking. You know the sandwich bread is finished baking when the crust is solidly golden brown in color, tapping a fingernail on the crust creates a hollow sound, and the internal temperature of the loaf is 190 degrees F (temperature is the most accurate test for doneness).
- Cool: Allow the loaf to cool in the pan for 10 minutes. Then gently transfer to a cooling rack to cool completely before slicing and eating.



Brenna
This is a truly incredible gluten-free sandwich bread. It’s light with large slices, and it tastes very similar to what I remember! This will be my go to sandwich bread recipe.