
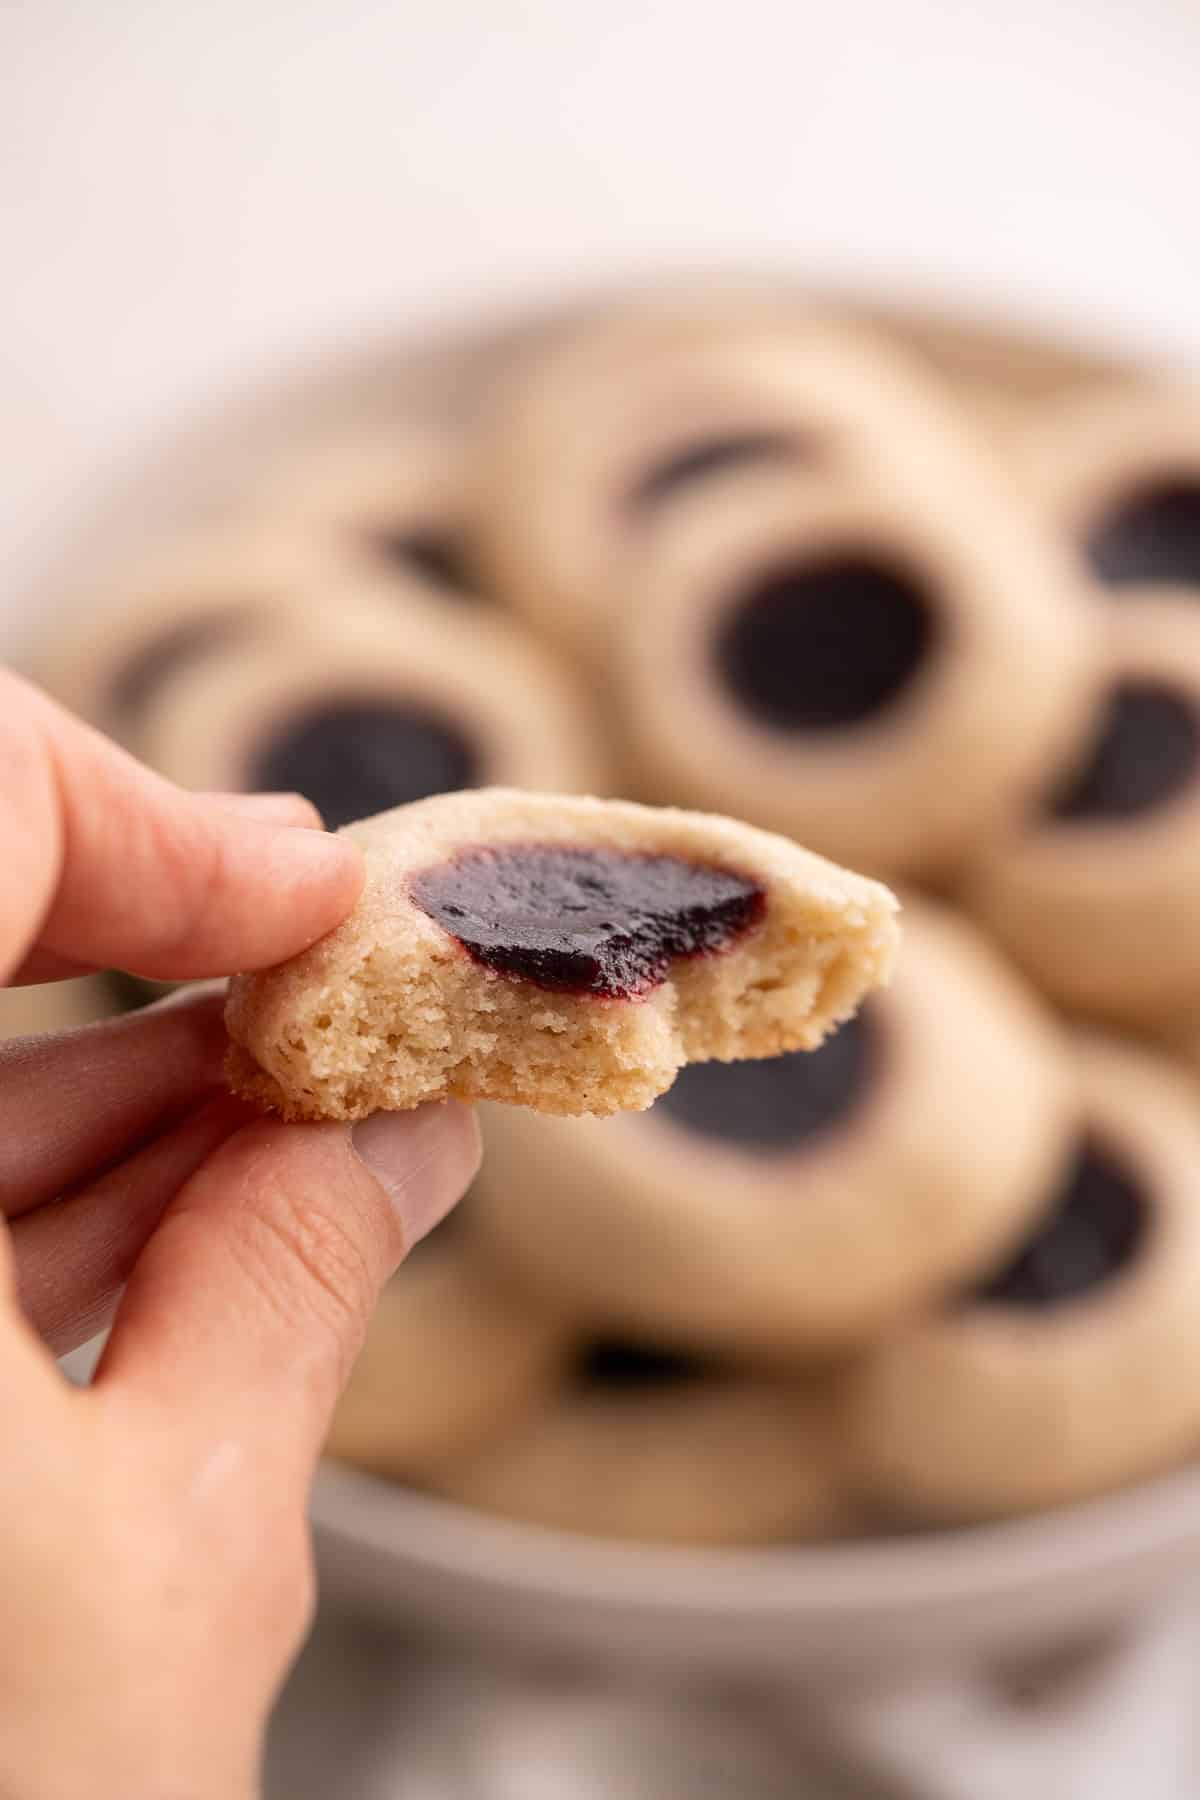
These moist and sweet gluten-free thumbprint cookies with your favorite jam are sure to delight kids and adults! This recipe tastes just like the traditional and is easily made vegan. With only 10 ingredients, you'll experience how much better this homemade traditional Christmas cookie tastes compared to store-bought versions.

Gluten-Free Thumbprint Cookies are a traditional Christmas cookie and is therefore most popular after Thanksgiving and in December. Because the jam filling can be customized to the season, they're also great for Easter and other holidays. As I try new fillings to fit the occasion, I'll be updating the variations in this post.
For more traditional gluten-free Christmas cookie recipes, check out my Gluten-Free Peanut Butter Cookies, Maple Brown Sugar Cookies, Christmas Rocky Road, Spiced Paleo Molasses Cookies, No Bake Chocolate Coconut Cookies, and Gluten-Free Monster Cookies (no oats). For more cookie recipes for holidays and year round, check out my Gluten-Free Chocolate Chip Cookies (vegan), Coconut Sugar Chocolate Chip Cookies, and Almond Flour Chocolate Chip Cookies.
For more amazing gluten-free Christmas desserts, readers love my Dairy Free Tiramisu, Gluten-Free Gingerbread Loaf, Dark Chocolate Buttercream Candies, Peanut Butter Truffles, GF-Vegan Pumpkin Pie, Vegan Chocolate Cream Pie (no bake), and Vegan Gluten-Free Chocolate Cake.
New to gluten-free or spending time with new gluten-free family members this holiday season? This How to go gluten-free and gluten-free grocery list posts will jumpstart the transition!
How to make it (with photos)
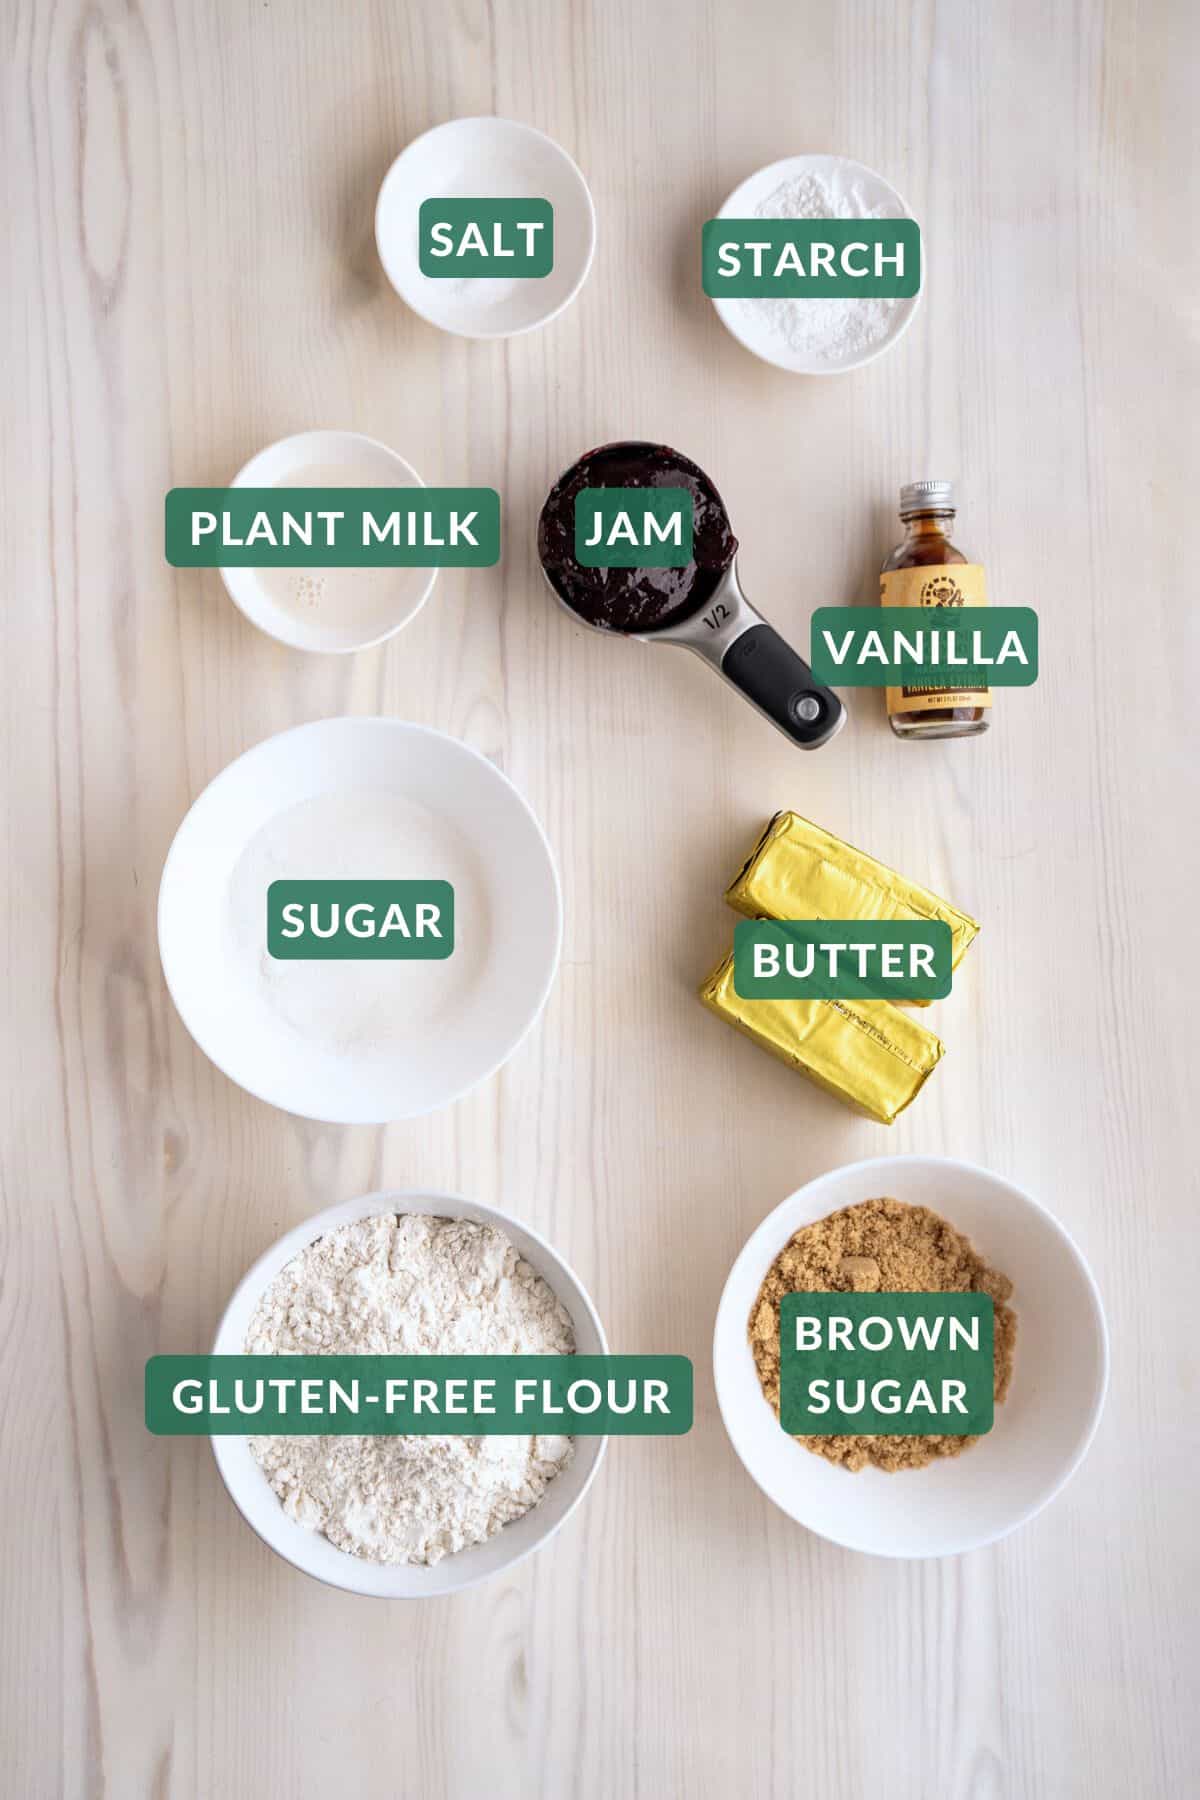
Ingredient Notes + Substitutions
These gluten-free thumbprint cookies are really easy and require only 9 ingredients! They are also egg-free, dairy-free, and vegan if using dairy-free milk and vegan butter.
Butter or Vegan Butter
Regular or vegan butter work perfectly in these cookies. The photographed batch is made with Earth Balance Vegan Buttery sticks (it is gluten-free).
All Purpose Gluten-Free Flour
I used Bob's Red Mill 1-to-1 gluten-free baking flour. I think it's the best gluten-free flour blend for cookies and quick breads. You can even use it to make gluten-free bread!
If your gluten-free flour blend does not include xanthan gum or guar gum, add ¼ teaspoon xanthan gum per cup of flour.
Starch
Potato starch or cornstarch keeps gluten-free cookies soft and moist on the inside while giving it that crisp outside. It's a great trick for the perfect chewy cookies.
It also serves as an egg replacement, binding the ingredients together when baked.
I used Judee's Potato Starch (labeled gluten-free).
Jam, Jelly, or Preserves
Any jam or jelly will do! I used Crofter's blackberry jam (labeled gluten-free) for these cookies because it's my toddler's favorite. Raspberry jam is traditional for Christmas cookies and holiday cookies. I've also tried this recipe with strawberry jam.
You also need sugar, light brown sugar, vanilla extract, and salt to make this recipe.
See the recipe card for a full list of ingredients with quantities.
Variations
This gluten-free thumbprint cookies recipe is vegan if you use vegan butter! There are no eggs needed (or missed) in this recipe.
Here are a few other ways you can vary this recipe to fit the season:
- Chocolate - Add melted chocolate or Vegan Chocolate Cream Pie filling after baking the cookies. Allow time for the cookies to cool before filling. Allow the filling to set before serving.
- Lemon Curd - Add lemon curd after the cookies are baked and cooled.
- Apple Pie Filling - Use your own favorite filling or try the stovetop filling recipe in my Pie Iron Apple Pie recipe. Allow the filling to cool and then add it to the indented cookie dough balls before baking.
Step-by-Step Instructions
Learn how to make gluten-free thumbprint cookies in six easy steps.
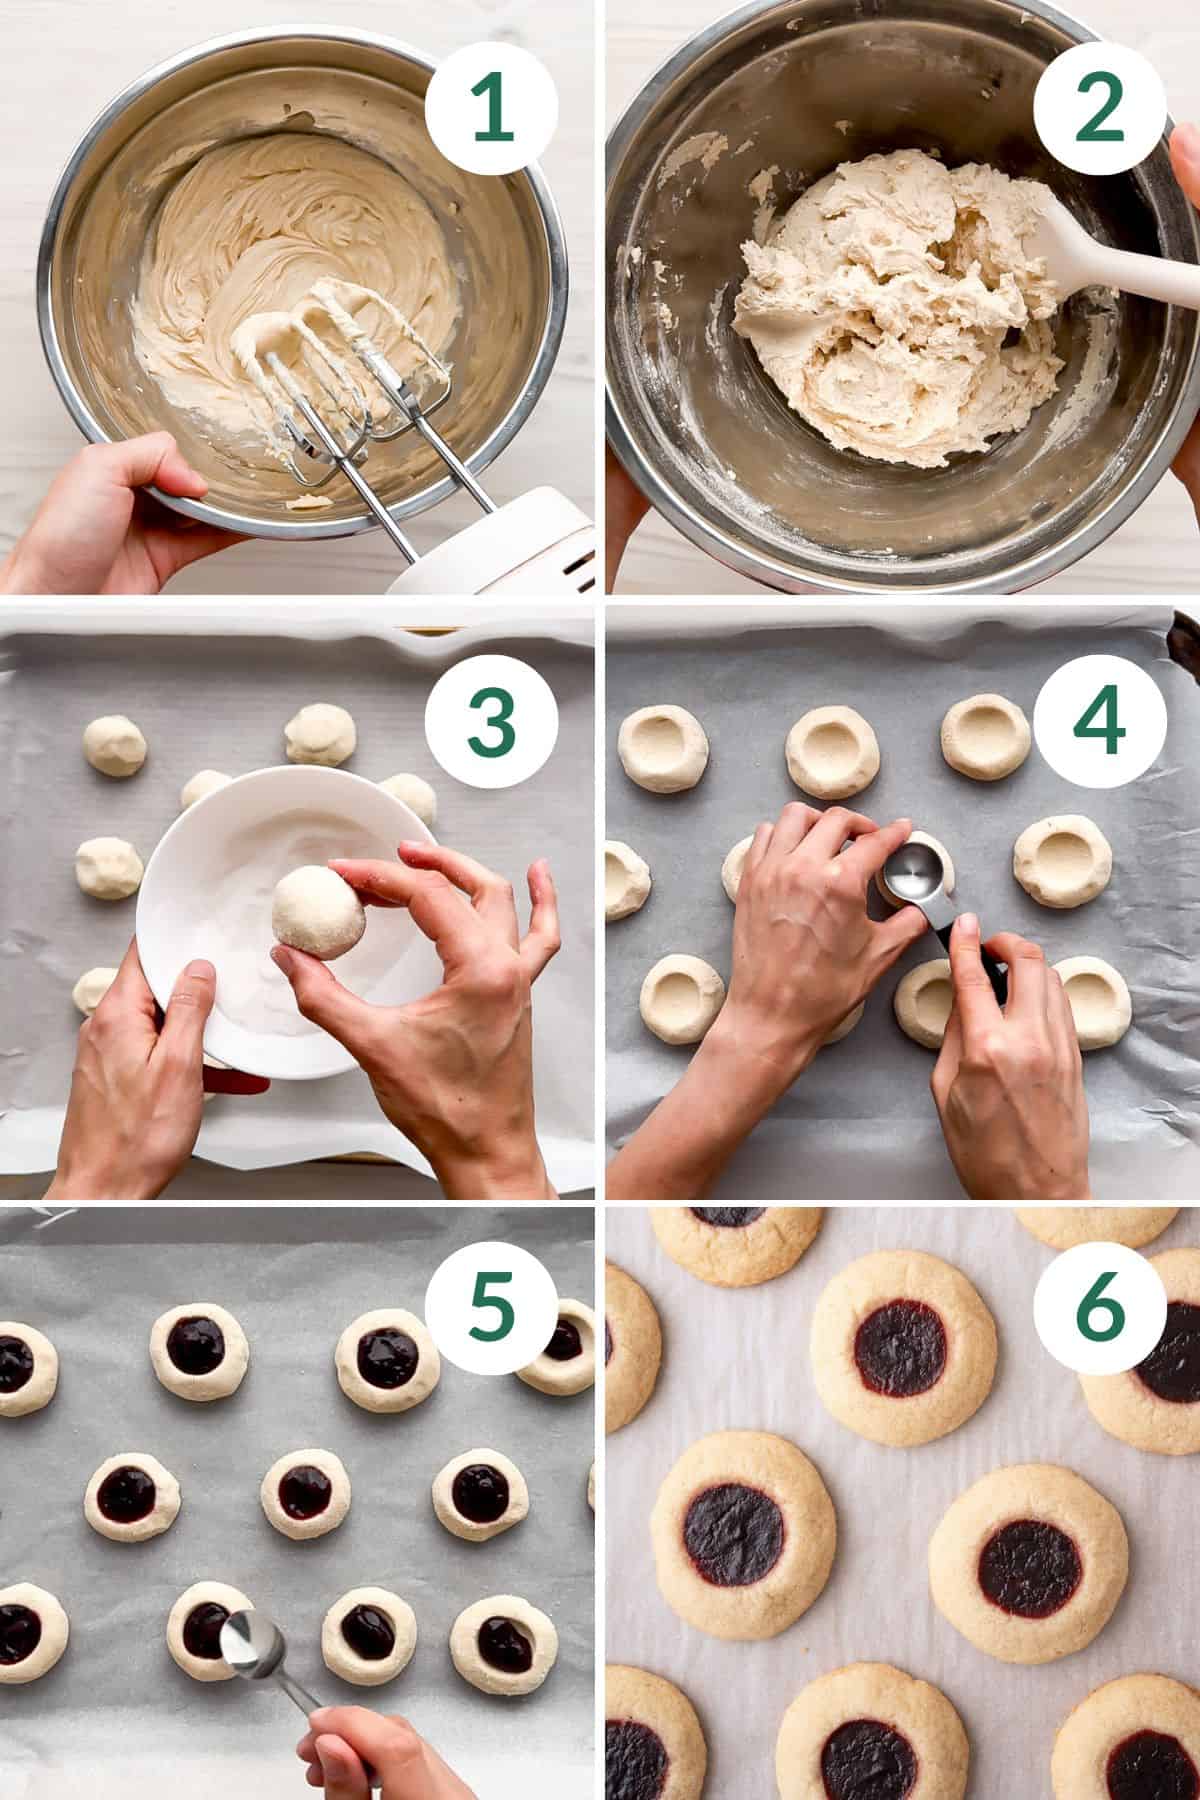
- Wet Ingredients: To a large mixing bowl, add the butter, sugar, brown sugar, milk, and vanilla extract. Mix with an electric mixer until well combined.
- Dough: To a medium mixing bowl, add the gluten-free flour, potato starch, and salt. Whisk together. Then add half the dry ingredients to the butter mixture and mix until smooth, scraping down the bowl as needed. Add the remaining dry ingredients and mix the dough thoroughly.
- Balls: Scoop 1 tablespoon of dough and roll well into a ball without cracks or blemishes (this prevents the cookies from cracking while baking or pressing the thumbprint). If the dough is too soft, put it in the refrigerator very briefly to firm up so it's manageable. It's best to keep the dough soft so it doesn't crack when pressing thumbprints. Roll the ball in sugar. Repeat with the remaining dough. Place the dough balls on a cookie sheet lined with parchment paper with about 2 inches between cookies.*
- Thumbprints: Using a 1 teaspoon measure or your thumb, gently and slowly press down into the dough balls to create the thumbprint. This will cause the dough to spread. The thumbprint depth should be about ⅓ (and no more than half) of the cookie height. Repair any cracks by gently smoothing the dough with your fingers. Place the indented dough balls in the freezer for 30 minutes to firm up.
- Jam: Just before taking the cookies out of the freezer, preheat the oven to 375 degrees F. Warm the jam in the microwave for 10-15 seconds and stir until smooth. Take the cookie dough out of the freezer and fill each thumbprint to the brim with jam.
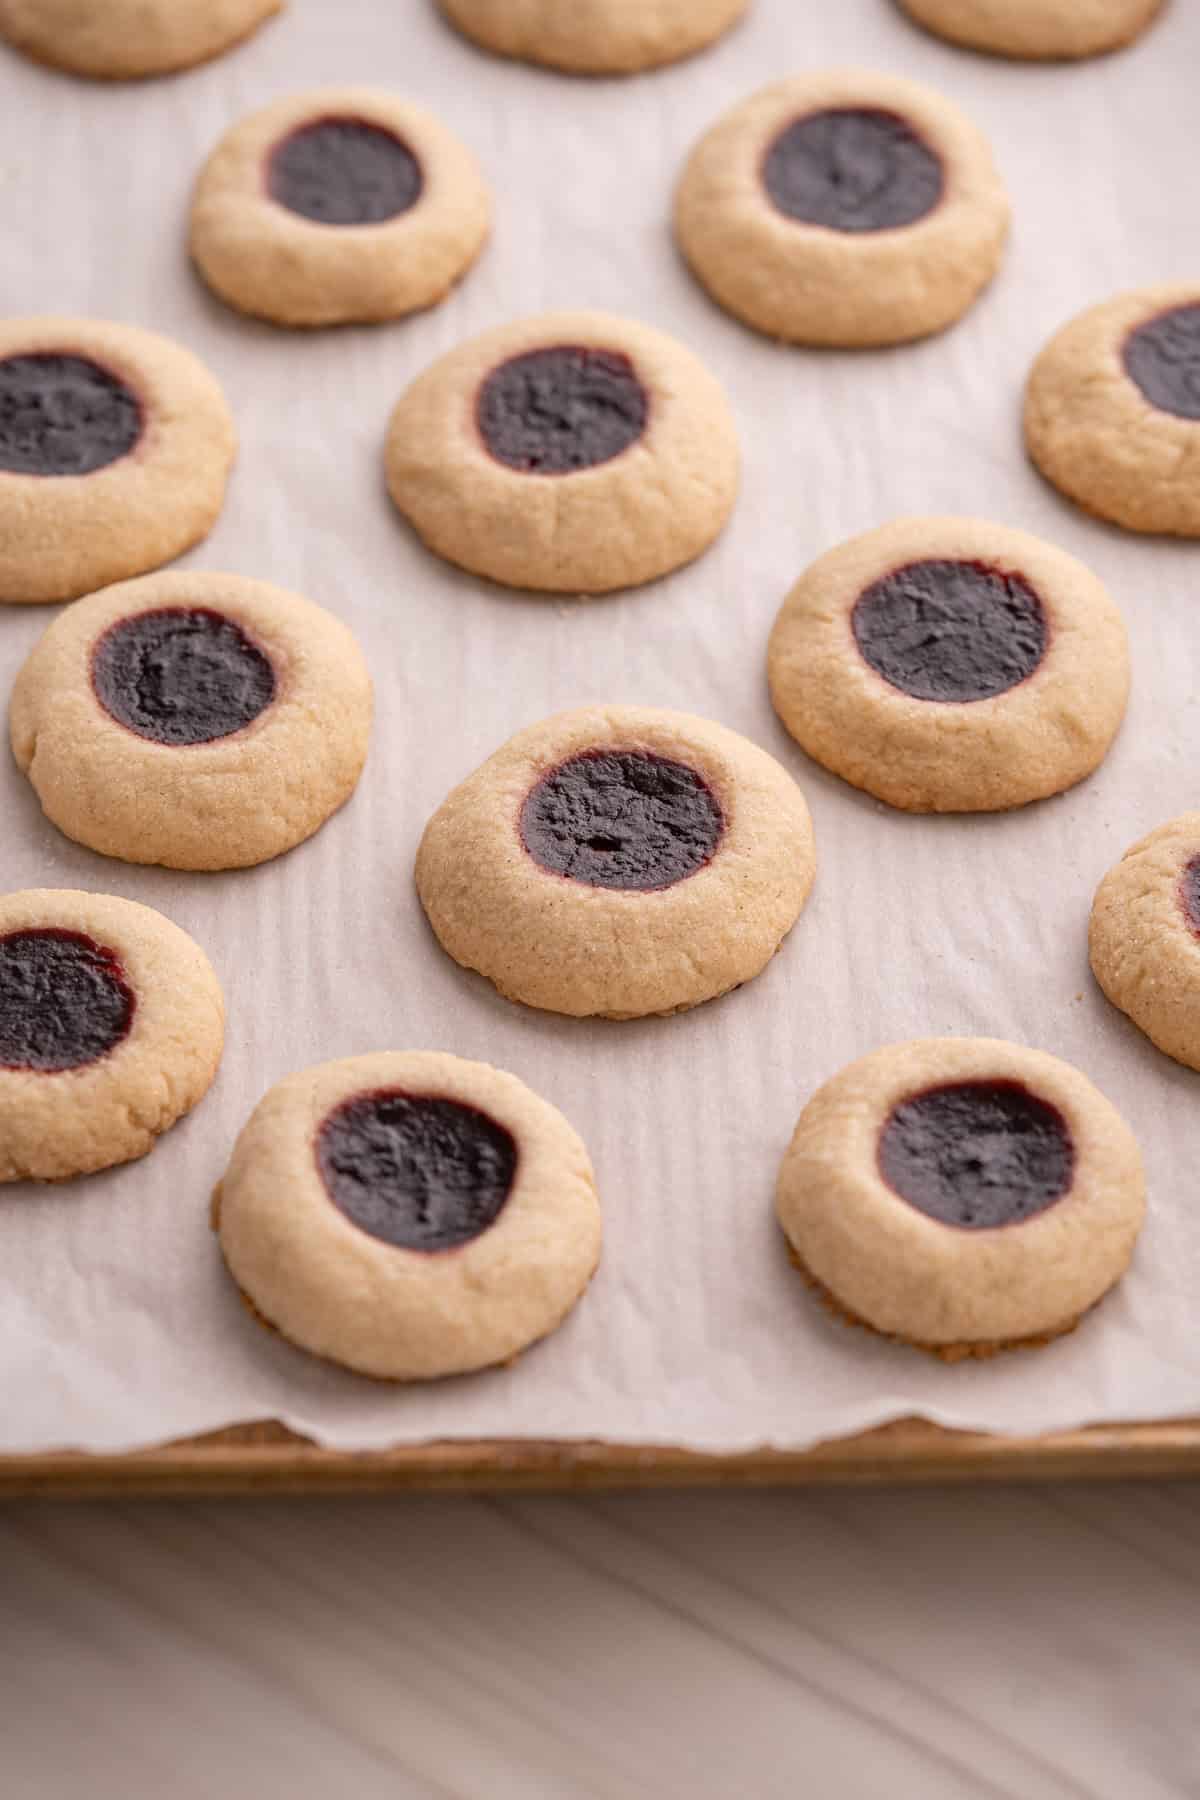
- Bake: Bake for 12 minutes or until the edges are just turning golden brown. Allow the thumbprint cookies to cool completely on the pan.
Expert Tips
Learn how to make amazing gluten-free thumbprint cookies on the first try with these expert tips.
Be prepared to work with very soft dough.
In order to press the thumbprint into the cookie dough, the dough needs to be very soft to prevent cracking. Cracking is more than just an aesthetic problem. It also dries out the center of the dough making it dry and crumbly.
Rolling very soft dough in your hands requires a little patience and care. But it is very worth it for the final texture of these amazing cookies!
If the dough is too soft to work with, refrigerate for 5-10 minutes at a time and try again. The softer it is, the easier it is to prevent cracking.
Press the thumbprint slowly.
Pressing the thumbprint slowly is really important to prevent cracking. If cracks do occur, repair them by gently smoothing your thumb across the dough in a single direction and pressing it back together.
Recipe FAQ's
Here I answered some frequently asked questions about this gluten-free thumbprint cookies recipe. Don't see your question? Leave it in the comments at the end of this post and I'll answer within two business days.
Store leftover gluten-free thumbprint cookies in an airtight container at room temperature for up to 4 days. You can also store them in the refrigerator for up to a week or in the freezer for up to 3 months.
You do not need to roll these thumbprint cookies in sugar. However, it has a few benefits. Rolling in sugar helps to create a thin sugar crust giving these gluten-free cookies a crisp outside. It also helps to prevent the cookies from sticking to whatever you use to make the thumbprint.
Thumbprint cookies need to hold their shape well with the jam indentation. Baking powder and baking soda cause the cookie dough to expand while baking, and this changes the shape of the cookie.
Instead, the ingredient proportions are changed to create a light and moist cookie. This is also part of the reason why the dough is so soft.
Related gluten-free Christmas cookie recipes to consider...
Looking for more gluten-free Christmas cookie recipes like these gluten-free thumbprint cookies? Check these out:


Love this recipe? Please leave a 5-star 🌟🌟🌟🌟🌟 rating in the recipe card or comment field below. Thank you!
📖 Recipe

Gluten-Free Thumbprint Cookies (vegan)
Ingredients
- 1 cup butter or vegan butter, softened at room temperature (2 sticks, 16 tablespoons)
- ⅓ cup sugar (70 grams)
- ⅓ cup light brown sugar (70 grams)
- 1 tablespoon milk of choice
- ¾ teaspoon vanilla extract
- 2 cups all purpose gluten-free flour with xanthan gum (275 grams)
- 2 tablespoons potato starch or cornstarch
- ½ teaspoon salt
- ⅓ cup sugar for rolling
- ½ cup jam
Instructions
- Wet Ingredients: To a large mixing bowl, add the butter, sugar, brown sugar, milk, and vanilla extract. Mix with an electric mixer until well combined.
- Dough: To a medium mixing bowl, add the gluten-free flour, potato starch, and salt. Whisk together. Then add half the dry ingredients to the butter mixture and mix until smooth, scraping down the bowl as needed. Add the remaining dry ingredients and mix the dough thoroughly.
- Balls: Scoop 1 tablespoon of dough and roll well into a ball without cracks or blemishes (this prevents the cookies from cracking while baking or pressing the thumbprint). If the dough is too soft, put it in the refrigerator very briefly to firm up so it's manageable. It's best to keep the dough soft so it doesn't crack when pressing thumbprints. Roll the ball in sugar. Repeat with the remaining dough. Place the dough balls on a cookie sheet lined with parchment paper with about 2 inches between cookies.*
- Thumbprints: Using a 1 teaspoon measure or your thumb, gently and slowly press down into the dough balls to create the thumbprint. This will cause the dough to spread. The thumbprint depth should be about ⅓ (and no more than half) of the cookie height. Repair any cracks by gently smoothing the dough with your fingers. Place the indented dough balls in the freezer for 30 minutes to firm up.
- Jam: Just before taking the cookies out of the freezer, preheat the oven to 375 degrees F. Warm the jam in the microwave for 10-15 seconds and stir until smooth. Take the cookie dough out of the freezer and fill each thumbprint to the brim with jam.
- Bake: Bake for 12 minutes or until the edges are just turning golden brown. Allow the thumbprint cookies to cool completely on the pan.


Crystal says
These gluten free thumbprint cookies are the best I tried! They’re even better than the ones I used to make before going gluten free. I can’t wait to share them at Christmas!